
In this part of the native organizing series, I’ll be going over how to make quick and easy edits to your precious pix with the Windows 10 Photos app. It’s a nifty little program built right into your operating system if you own a newer PC, and it’s what you’ll be using if you decide to organize natively in Windows 10. Is it perfect? No. Far from it…but it can do the basics just fine. Let’s take a look!
What is Windows 10 Photos Exactly?
The Windows 10 Photos app, not to be confused with the MacOS Photos app, is a native organizing and editing tool that is the default image handler on your PC. This app is meant to be your one-stop-shop when it comes to managing your images within Microsoft’s little world. Does it succeed? Yes. In theory. In the real world, it’s not quite as smooth. But it does the basics pretty well, so in this post, we’ll take a look at a few of the things you can do when it comes to editing your photos.
Photos or Photos?
On a separate, yet closely related side note – does anyone else wish that the tech companies out there would be a little more inventive when it comes to naming their apps? The MacOS image app is called “Photos,” and the Windows image app is called “Photos.” It begs the question: what’s wrong with a little personality? Even though I’m someone who is pro-simplifying as much as possible, generic names are boring, and they make it hard to explain the differences between them to unsuspecting clients. So I’ll take this opportunity to speak to the tech companies out there. Please make your apps stand out! I know you want to be literal, but I think we can all handle a little more than just “Photos.” Don’t you? At least iPhoto had that going for it. Ok, rant over. Back to regularly scheduled programming!

I’m a Perfect Pinnable!
How to Open the Photos App
The Windows 10 Photos app is what opens up when you double-click on a photo in Windows 10, just like Preview does on your Mac (unless you have changed your settings for any reason). This is the easiest way to open it, but you can also select a file, right-click on it, and select “Open with…Photos.” The icon is a small photo of a mountain in blue and white colors. A third way to open it is to click your Windows start button, and scroll down to P in the alphabetical list of programs you have installed on your computer.
If you don’t see the Photos app on your machine, you can download it again from the Microsoft site. It’s completely free, and very easy to install. Just a few clicks and you’re done.
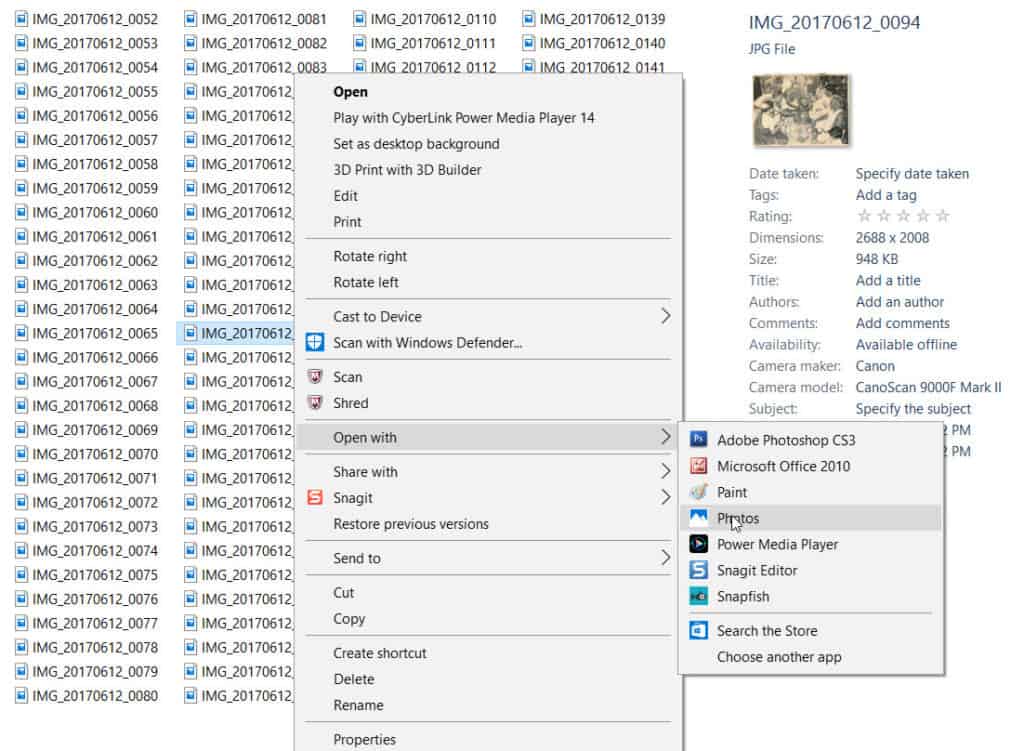
Open the Windows 10 Photos app by double-clicking your photo, or by right-clicking on it and selecting “Open with…Photos.”
Viewing Your Photos
The Windows 10 Photos app lets you view your photos three different ways: in collection mode, in album mode, or in folder mode.
The Collection Mode
The collection mode is view that has a continuous scroll of all your images (as tiles). This type of display makes it easy to see all your photos at once instead of having to pick the right album or folder. Images are sorted by most recent photo first, but you can change that in the settings if you prefer a different sorting method. Keep in mind that any scanned images may end up in the wrong place if you haven’t updated the metadata on them.
You can choose between 3 ways to display your photos!
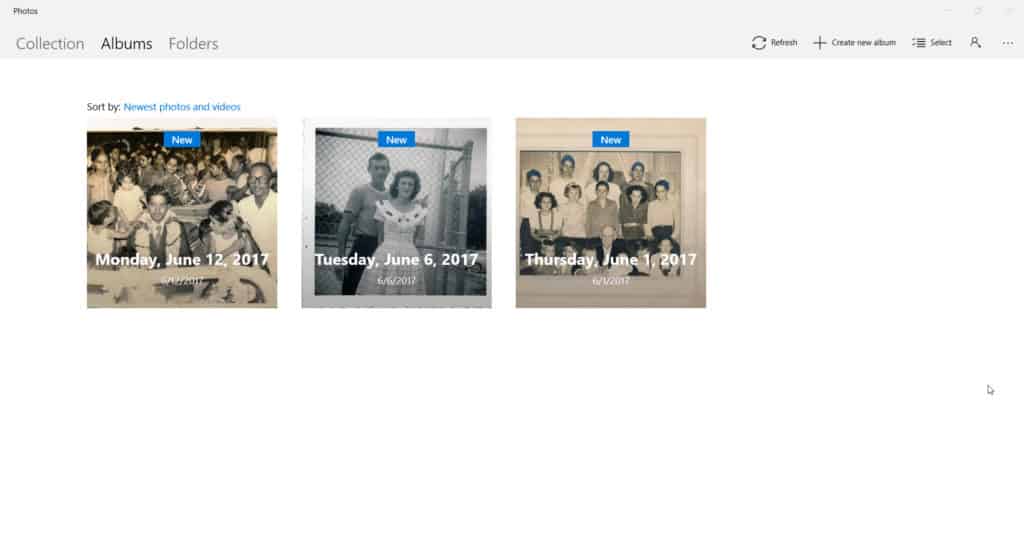
The Album View
The Photos app automatically creates albums based on the metadata of any photos you import, meaning that if you add new photos to the Pictures folder in your user library, they automatically end up in new albums. When Microsoft first came out with this, they received a bit of criticism for the way the app scans your computer, but it’s actually a nice feature if used correctly. The app doesn’t always get it right, but it’s pretty easy to rearrange stuff because you can create your own albums very easily. You can also designate other folders for Windows to scan in the settings.
The Folder Display
The folder view shows you all the different folders that Windows is importing from; the default one is the Pictures folder, but you can add more if you have photos stored in other places. If you already have a core folder structure in place, for example, it’s a simple task to add those folders as source folders to be able to view the collection through the looking glass that is the Windows 10 Photos app without actually having to move anything (also known as Referenced files). This app doesn’t lock your photos into a database, which is a big plus in my opinion.
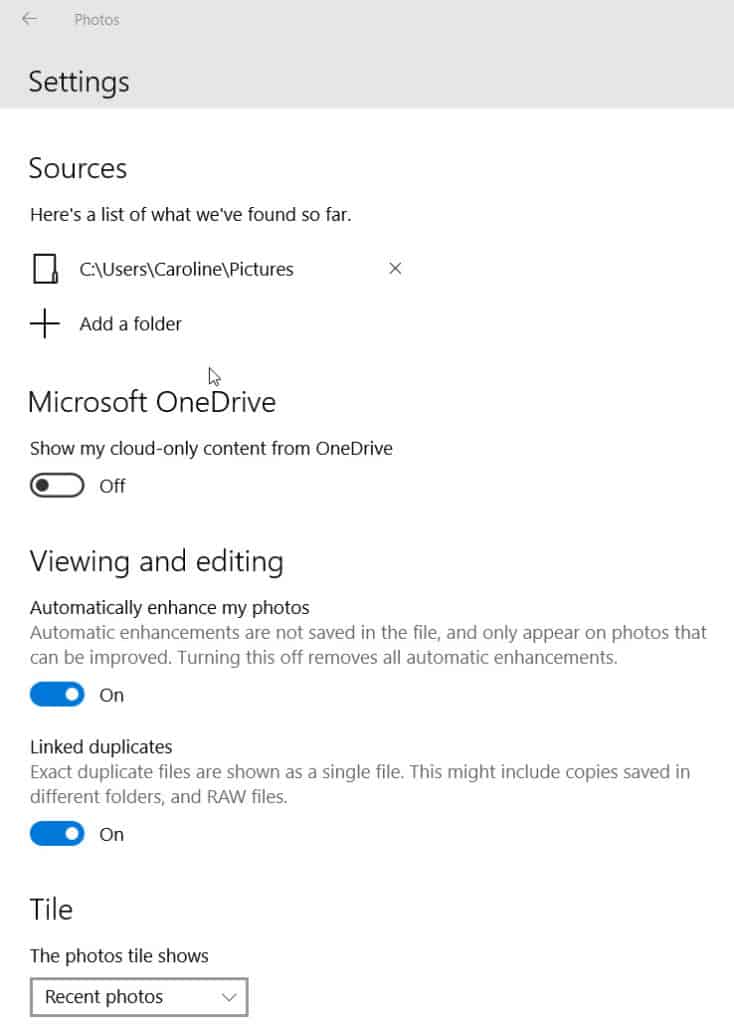
In the settings, you can choose which source folders to include, and you have an on/off option for OneDrive too, if you have images stored in the cloud.
Linking Duplicates
One great feature in the Windows 10 Photos app is duplicates linking, which can be found in your settings. Turning this feature on means that if you have duplicate files in multiple folders, it will only display one of them. You can toggle this on or off, so if you’re doing some organizing and you’re trying to find duplicates, you obviously need to turn it off. However, there are times when it comes in handy, for example if you’re trying to compare edits or work on different formats. In a nutshell, off for organizing and editing; on for viewing.
Rotating Your Photos
Just like in MacOS Preview, there’s a rotate button in the view menu, which you can use to turn your photos around. For some reason, it tends to auto-save though, so if you don’t plan to actually edit the photo, you’ll want to turn it back again once you’re done viewing it. The actual Crop and Rotate feature is in the edit settings of the program, but this button is easier to get to if you just need a quick fix.
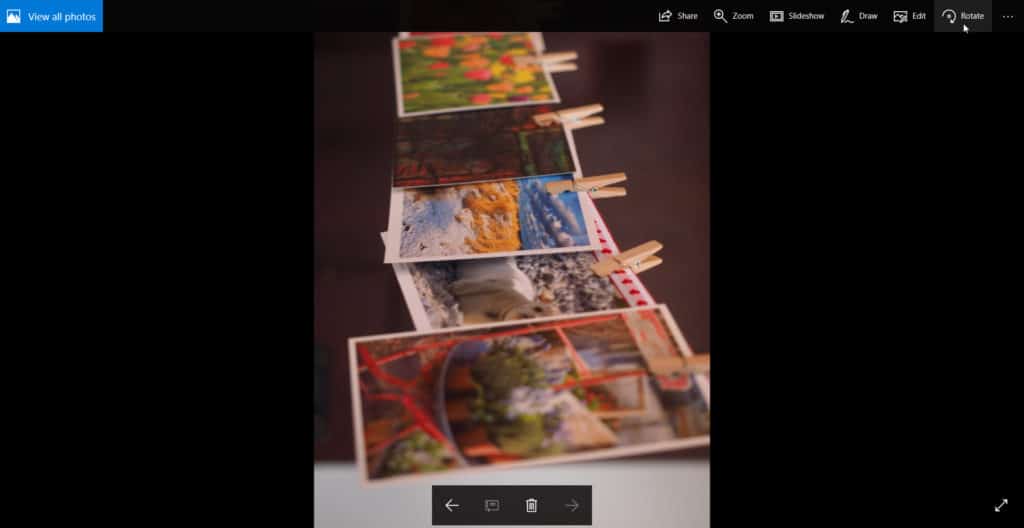
You can rotate your photo quickly from the main menu, or go into the Edit menu for a more detailed Crop & Rotate feature.
Viewing Photo Metadata
At the very end of the View menu, you’ll see three dots that you can click for more options (in a drop-down menu). From here, you can copy, print, set your photo as a background, as well as view the file’s metadata. Unfortunately, you’re only able to see the Exif metadata (the specs) and the folder path, and not the descriptive information. At this point, there isn’t a way to edit the metadata in the Windows 10 Photos app, but hopefully that’s something Microsoft will prioritize in the future.
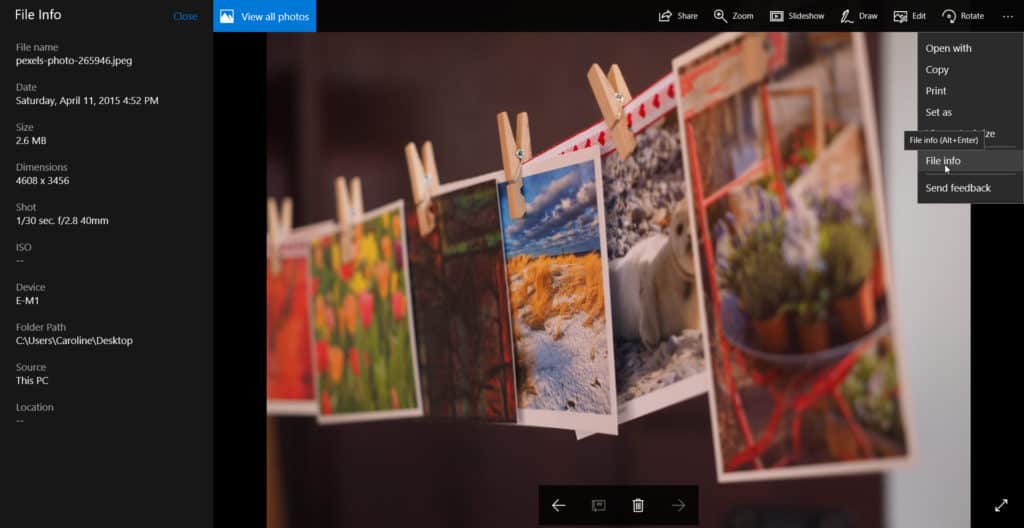
You can view the Exif metadata from the More (three dots) menu.
Importing Photos from Devices
With Windows 10 Photos, you can directly import new snapshots from your device by clicking the import button in the top right hand menu. You have to connect the device that you want to import from, and turn it on. Once the device is recognized, you can import the all the photos directly into the Pictures folder and have them display inside the program. In the settings, you also have an option to turn on OneDrive if you want to see all your cloud images in the same place, which is great if you sync a lot of photos from all of your devices.
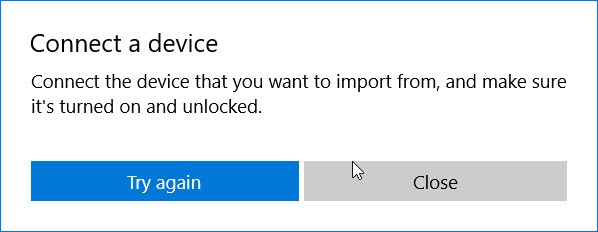
Connect a device, and open the Photos app to import!
Editing Your Photos
The Windows 10 Photos app has a lot of editing features for your photos. You can perform basic editing tasks, like cropping, adjusting, and annotating very easily. One thing I like is that the app highlights the difference between saving edits to the master file and saving an edited copy of the file. I would imagine that is very helpful for beginners who might not be familiar with all the ins and outs of non-destructive editing. A less traditional approach, but it works.
Cropping Your Photos
Cropping your photos is easy in the Photos app. Open a photo, click Edit > Crop and Rotate, and a secondary menu pops up where you can outline the crop edges. The app applies the change immediately, but doesn’t save them until you click Done, so you have the ability to move the box around until you’re satisfied with the edit.
In the secondary menu, you can also change the aspect ratio, flip (mirror) or rotate the image, and even tilt it a certain number of degrees – a feature that’s usually only available in more sophisticated editing programs. All in all, pretty great.

Crop & Rotate lets you tilt, mirror, rotate, and adjust the aspect ratio of your photo!
Enhance & Adjust Photos
Under the Enhance and Adjust menu, you have a number of other options to help your photos look their best. When you explore the Enhance side of the menu, you’ll see that you have the ability to add a filter to you photo. Under Adjust, you can change the light, color temperature, and clarity of your photo. You can also add a vignette, remove red eyes, and spot fix. In a nutshell, it has everything you need for basic editing coupled with a less intimidating interface than Photoshop.
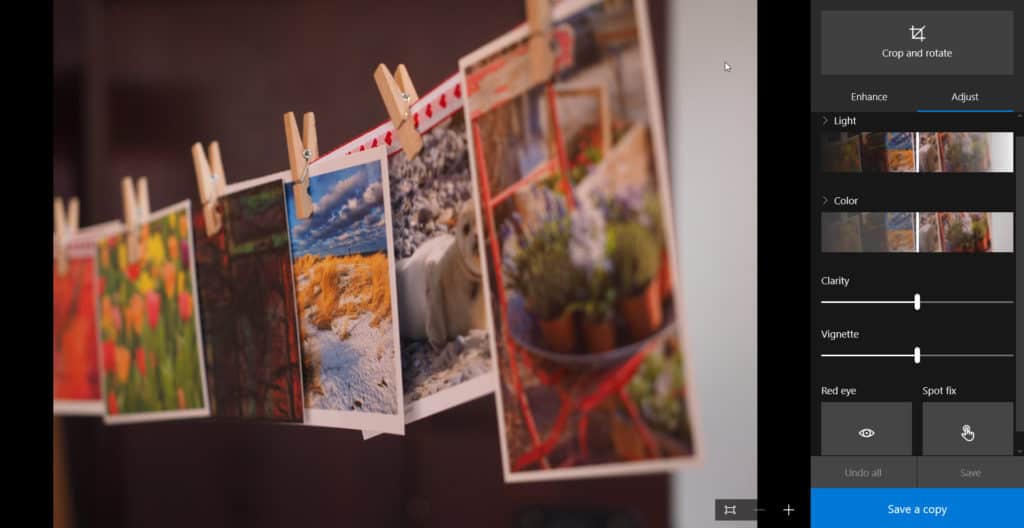
Enhance & Adjust has everything you need for basic editing!
Annotate Your Photos
Just like in MacOs Preview, you can annotate your photos pretty easily. In the Edit menu, click on Draw and select your choice of pen to start. I don’t do much annotating myself, but it’s a pretty cool feature if you need to write on a photo for any reason. It’s great for creating graphics in general, and it has enough functionality to be useful, but not so much that it becomes overwhelming.

You can annotate your photo under the Draw option.
Sharing Your Photos
The Windows 10 Photos app has sharing built right into it, and you can either copy a file to somewhere, or share it with your choice of app – Mail, Facebook, and Messenger being the most common ones. You do have to install little extensions for social sharing to work, but it’s not very difficult to do. Where it says Suggested apps to install, you simply click on the sharing method you want to access, and the app installs the extension for you right inside the program.
If you don’t see the app you want in the list, click on Share file, and you’ll see more options, like OneNote, and Twitter. Still don’t see it? In the same menu, click Look for app in the store to be taken to the Microsoft app store, where you can find a whole slew of apps to install.
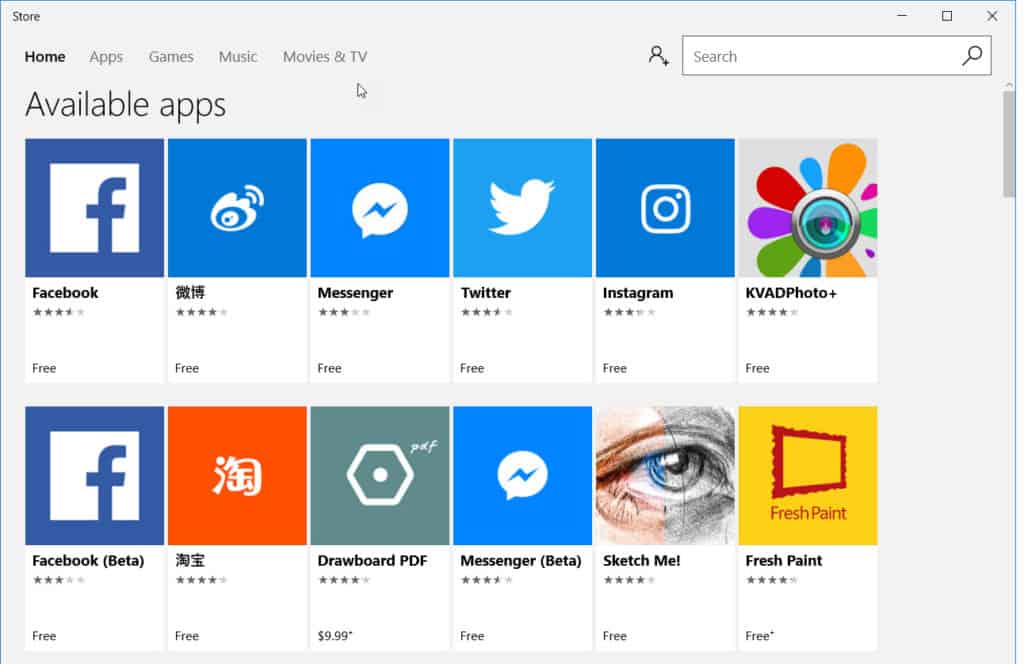
The Microsoft app store lets you add and install sharing apps to Photos!
Convinced Yet?
As you can see, native organizing and editing isn’t as basic as you might think at first glance. It just involves using what you already have in order to simplify the photo organizing process without the excess.
If you’re more of an advanced user who will be doing lots of editing, this isn’t for you. If you need batch processing, this isn’t for you. But if you’re one of the thousands of beginners who are overwhelmed by the thought of having to learn a whole new software, native organizing is the perfect fit. It’s time to KISS your workflow, and focus on getting organized instead of letting the fear of technology stand in your way… And that, my friends, is what progress is really about.
What say you, readers? Do you use the Windows 10 Photos app at all? Let me know in the comments below!