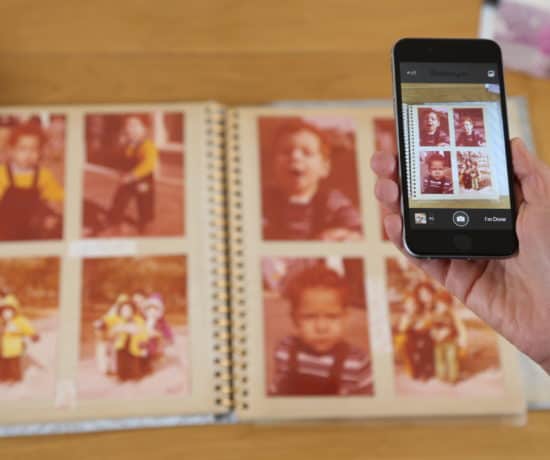
One of the biggest challenges in photo organizing projects is dealing with the duplicates. Everyone will come across duplicates in their photo collection in one way or the other: It might be multiple copies of the same photo created as a result of syncing and backing up across devices and in the cloud… there might be slightly different versions of the same photo saved after multiple shots or editing. No matter which it is, duplicates are scattered across your photo collection and occupy an extra storage space. Let’s take a look at a typical photo deduplication process and how to fix this…
What is PhotoSweeper?
Identifying and deleting duplicates in a large photo collection is absolutely time and energy consuming. The best solution is to use an application that can help you automatically detect and clean the duplicates in batches. There are many free and paid duplicate finder apps available for different operating systems that all have different interfaces and features. But there are some common aspects that one needs to get familiar with before attempting to deduplicate their photos with such an app.
In this blog post, we’ll go through a typical photo deduplication process by using Photosweeper for Mac, one of the best reviewed and most affordable duplicate cleaners with a user friendly interface.
With PhotoSweeper, you can:
- Identify and delete duplicate photos in the folder system of your Mac, as well as on external hard drives
- Deduplicate photos in your photo galleries in other photo management softwares, such as Apple Photos, Aperture, and Adobe Lightroom
- Find exact photos, similar photos and series of shots that are captured with short time intervals
- Mark and delete duplicates in batches
If you want to look for alternative duplicate cleaners for other operating systems, you can take a look at Duplicate Cleaner Pro (for Windows; paid or limited free versions) and dupeGuru (free cross platform duplicate cleaner with a basic interface).
Basics of Cleaning Duplicate Photos
There are a few key aspects to keep in mind about cleaning photo duplicates:
- Be sure to have a back up of your photo collection before attempting an extensive deduplication process. Although the deleted photos are still kept in the trash folder, it’s important to have a safe backup of your collection that you can restore in case of major problems.
- When we talk about duplicate photos, be aware that this definition can include exactly same photos, similar photos, and series of shots.
- Note that no duplicate cleaner app is perfect enough to identify and clean all duplicates in one go. It’s quite common to see new duplicates each time you go through your photo collection with the same app but with different settings.
- Don’t get surprised seeing different apps identifying different number of duplicates in the same photo collection. The solution? Just select a good app and play with different settings to achieve the best results.
- Some of the duplicate finder apps can also be used to identify and remove duplicates of not only photos but also different types of files like text, music and videos. This means a bit more sophisticated interface and higher cost, so make your choice based on your needs.
- Finally, while apps are quite advanced in comparing photo files, don’t expect too much when trying to identify video duplicates.
Installing the PhotoSweeper App
You can download and install PhotoSweeper from the developer’s website or from the Mac App Store. A free trial allows you to play with the app and delete up to 10 photos. If you decide that PhotoSweeper can help you in managing your duplicates, then you can go for the paid version with full features that costs US$9.99. If you only intend to work on your photos, this is an affordable option as more advanced duplicate finders that compare different kinds of files generally cost around US$30.
Launching the App and Choosing the Working Mode
When you launch PhotoSweeper, it will ask you to select your working mode:
- Single List Mode: To select a single folder to compare and identify duplicates in that specific folder.
- Side to Side Mode: To select two or more folders to compare them with each other and find duplicates.
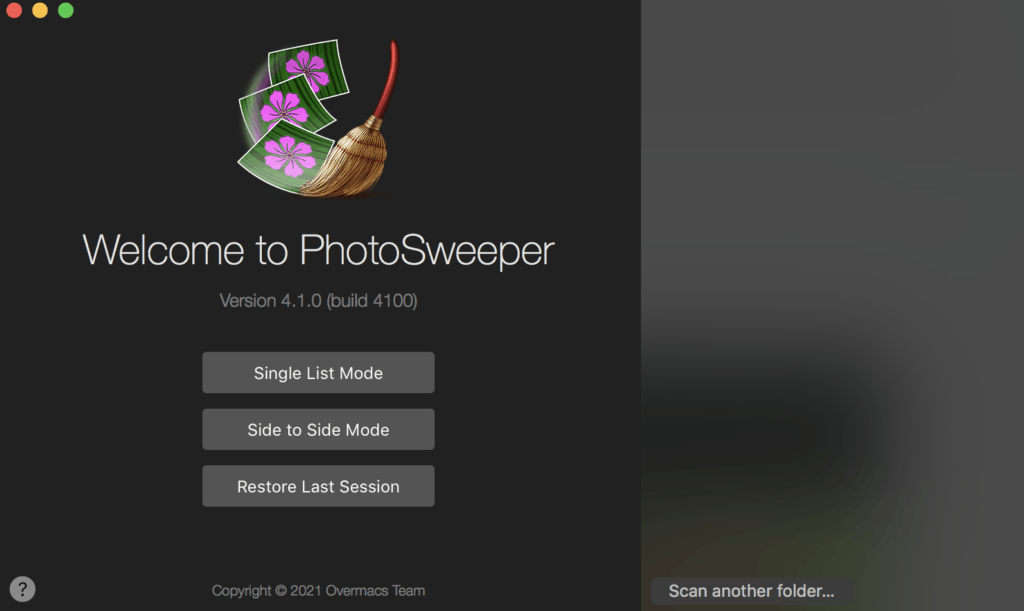
Select “Single List Mode” to find duplicates on a single folder or “Side to Side Mode” to find and compare duplicates in two different folders.
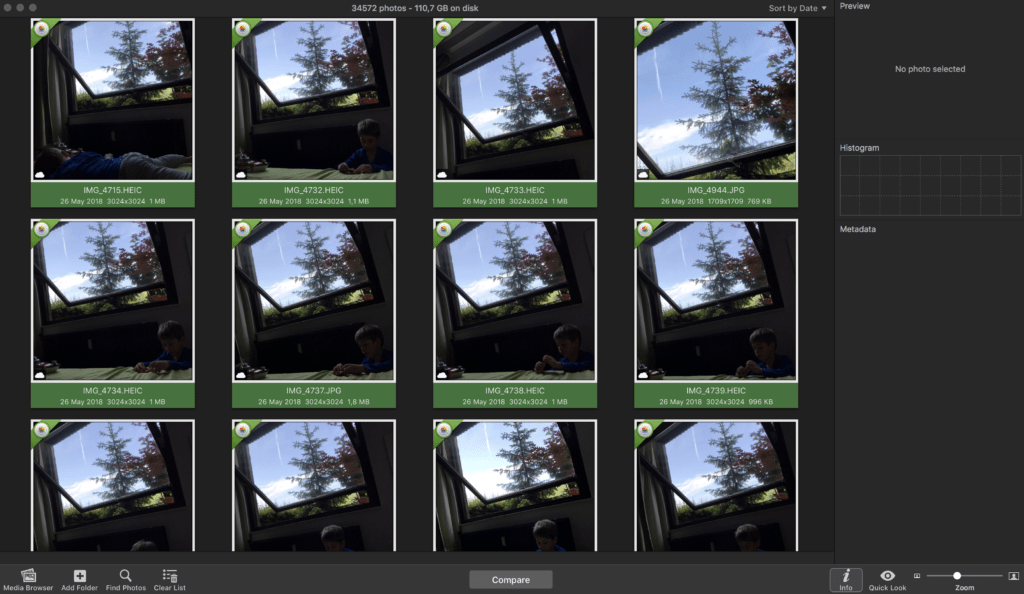
On the Single List Mode, just tap on “Add Folder” at the bottom left of the PhotoSweeper window and select a folder from your computer to be displayed on the app.

This is how your selected folder is displayed in Single Mode.
The Single List Mode is flexible: If you don’t keep your photos in a folder structure, alternatively you can upload your Apple Photos or Adobe Lightroom gallery by selecting the “Media Browser.” Then the app will ask you to drag and drop your library in the PhotoSweeper window.
To work on your Apple Photos gallery, go to the Pictures folder on your Mac. Drag and drop the Photos Library onto PhotoSweeper. This is how the app displays the content of an Apple Photos gallery.
If you want to compare and deduplicate photos in more than one folder, then select the Side to Side Mode. When you tick the “Lock photos” option, the photos in the folders will be used for comparison but can’t be deleted. Select this option to protect the content of a folder from being deleted.
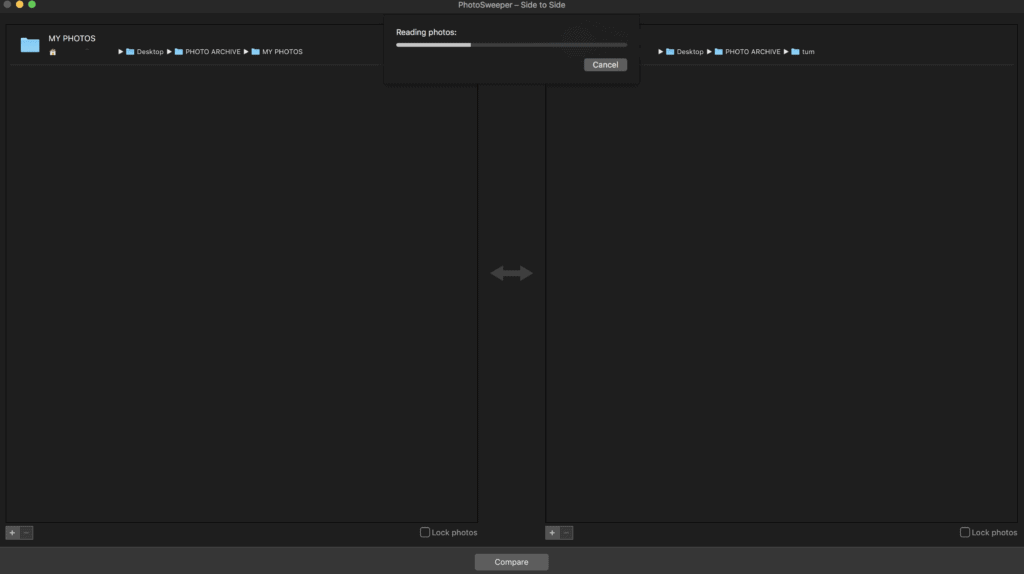
Click on “+” tabs on both sides and add one or more folders on each side to compare them with each other.
Comparing Photos with Your Personal Settings
Once you select the folders to work on, click on “Compare” for the app to automatically go through your photo collection and identify the duplicates. The PhotoSweeper app will then ask you to define your comparison preferences.

If you select the Duplicate Files mode, the comparison will be made to find duplicate photos that are exactly the same.
Here is how results look in the Duplicate Photos mood: All photos are identical.
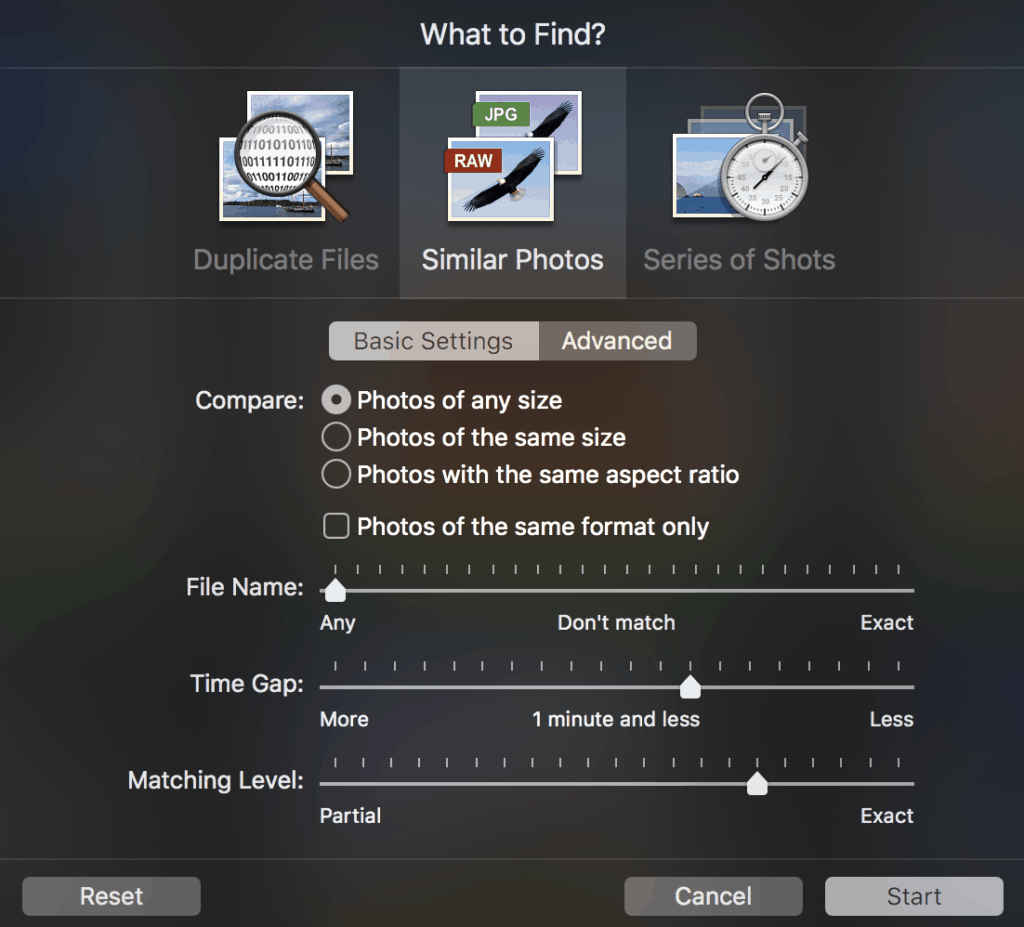
With the Similar Photos mode, you can find similar photos based on their size, format, file name, capture time and similarity level.
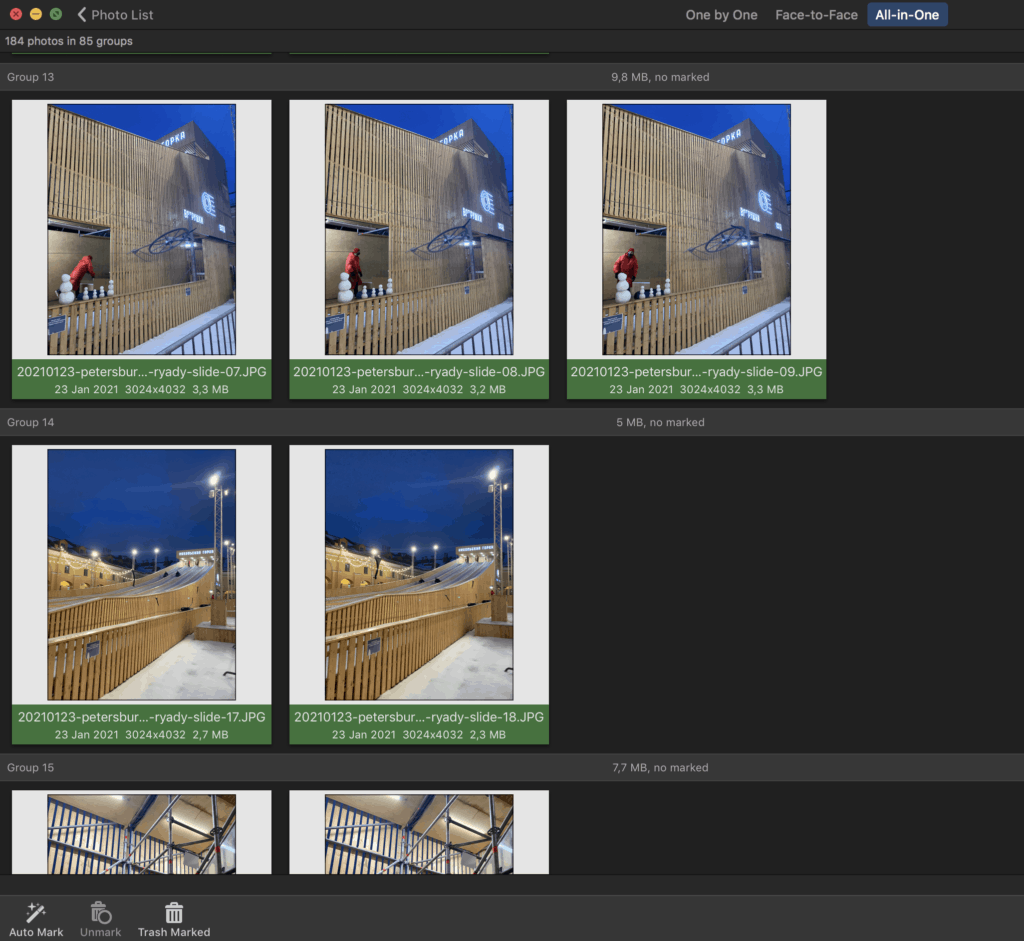
Similar Photos mode displays results that are slightly different. This mode gives the possibility to cull photos by selecting the best shot to keep among a series of similar photos.
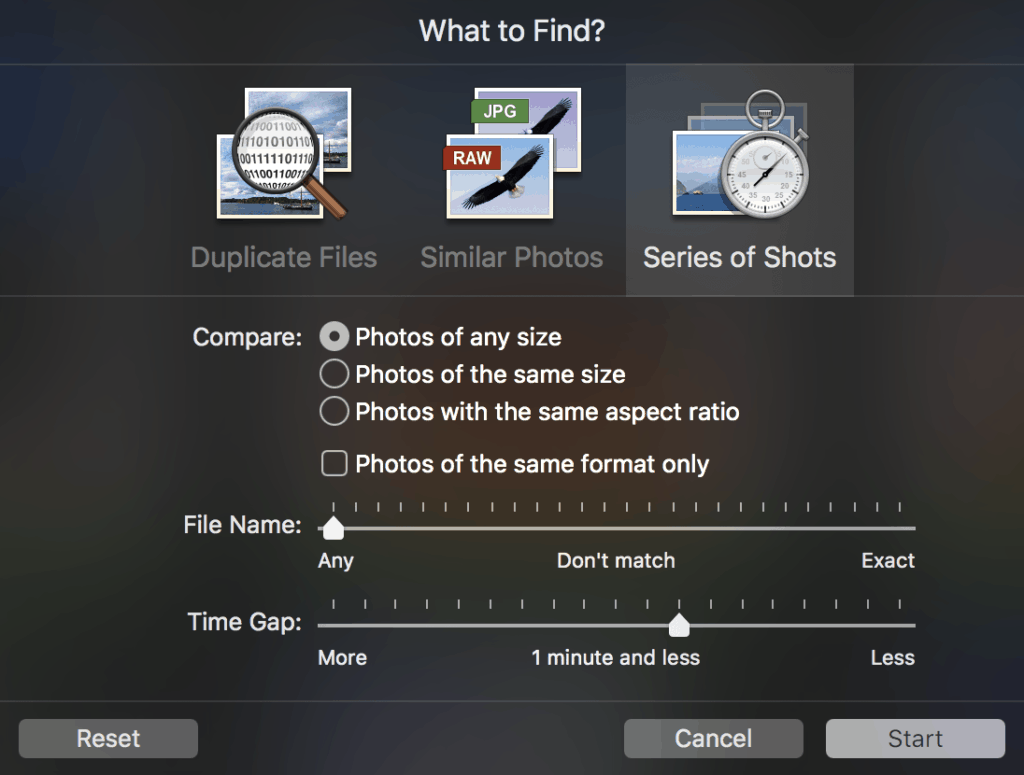
With the Series of Shots mode, you will find the photos captured with continuous shooting mode or manually with short time intervals.
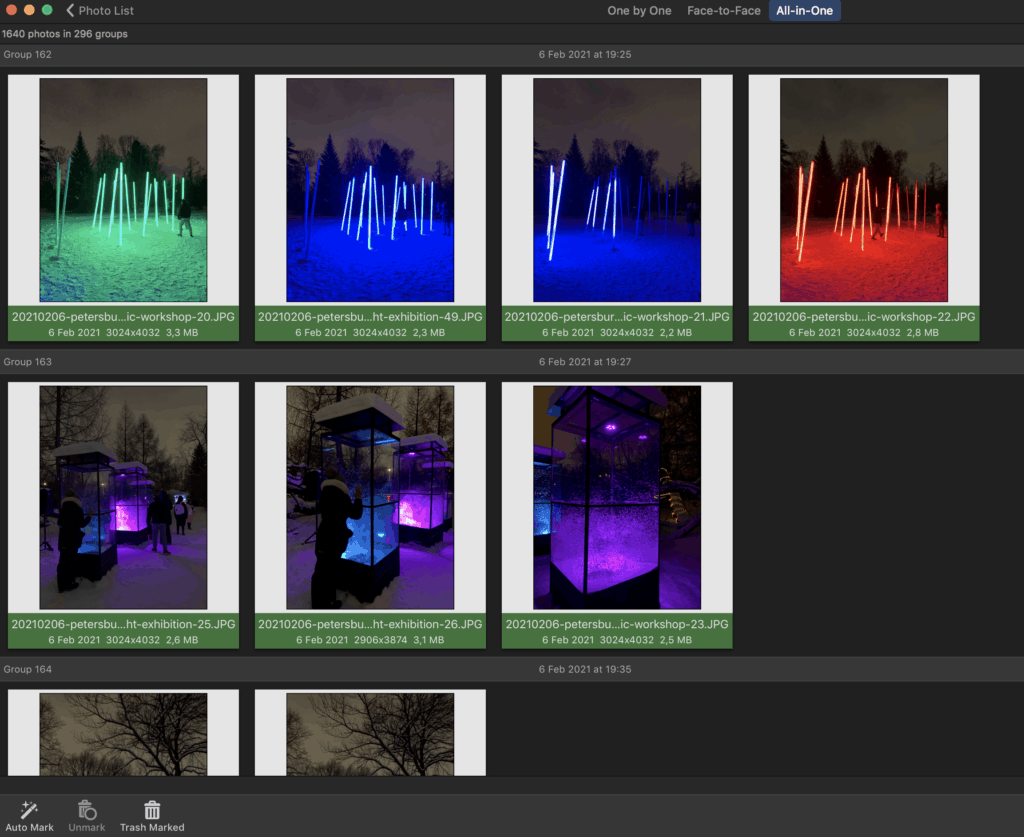
The Series of Shots mode displays photos that are captured one after each other.
Mark and Delete Duplicate Photos
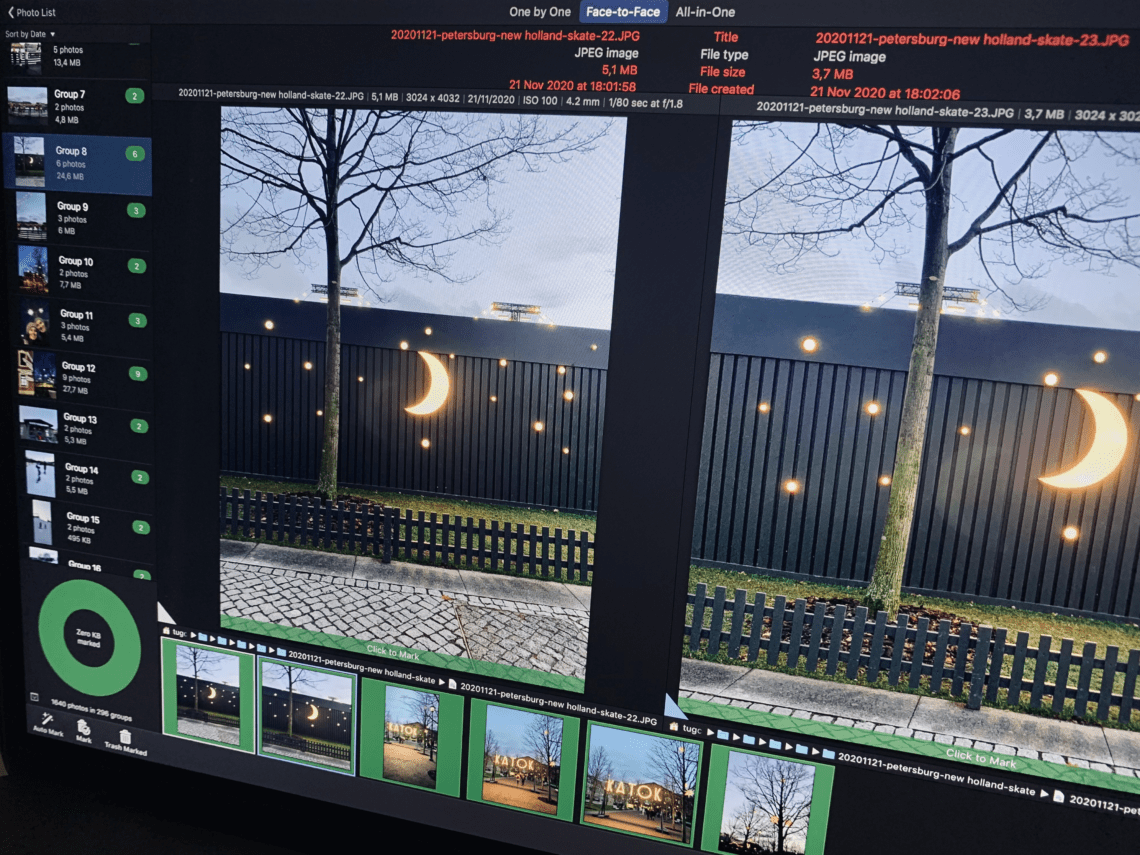
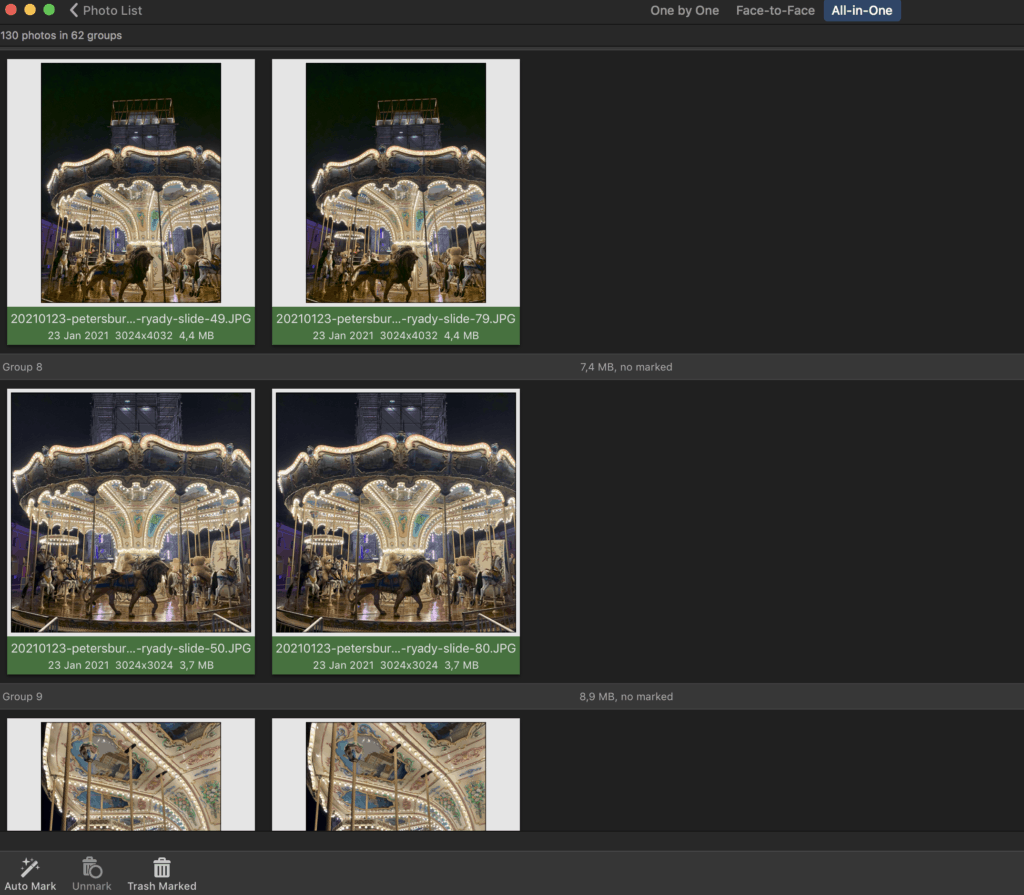
After you set your preferences and ask PhotoSweeper to compare photos accordingly, the app will display the results in the format you like. You can select this format from the tabs at the top of the window: one-by-one, face-to-face or all-in-one.
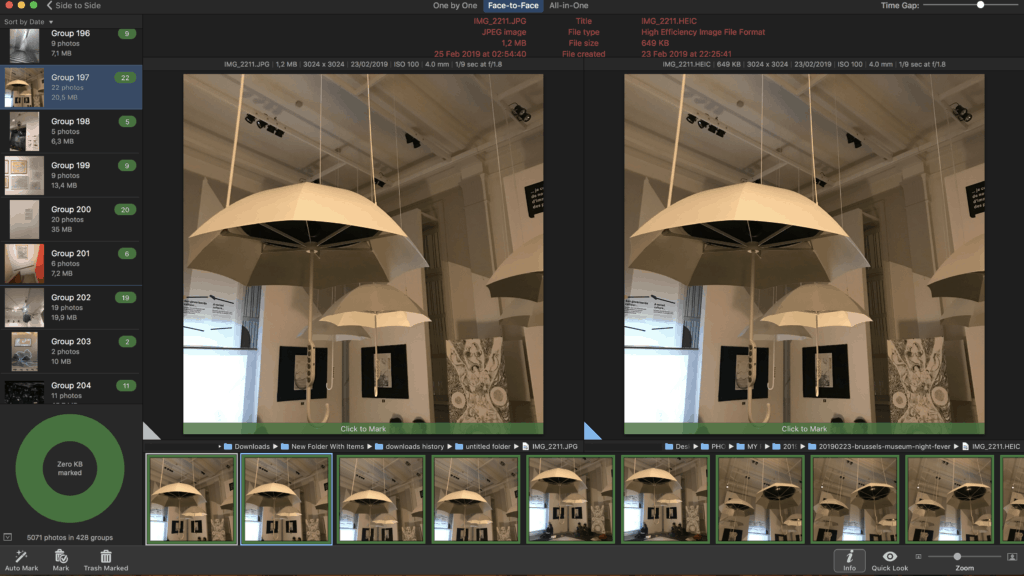
Face-to-face mode is very practical to see photos together and make the selection of the best shot to keep. While the first two photos will be previewed in large format, you can see the other similar results by simply swapping left the thumbnails that are displayed at the bottom. If you have too many similar photos, you can go for the All-in-one mode to see all of them previewed at once.
Now it’s time to mark the duplicates to be deleted: This can be done manually or automatically. You can go through the results and manually mark/unmark the photos that you want to delete by simply clicking on their preview.
You just need to click on the photo preview to mark or unmark the photos. You can also tap on a thumbnail and then click the Mark/Unmark tab on the bottom left.
Otherwise, if you click on Auto Mark, PhotoSweeper will automatically mark the photos based on your Auto Mark preferences. It will keep one photo from each comparison unmarked, meaning that this photo will be kept in your collection. And it will mark the rest for deletion. After this, you can still go through the auto marked photos to make manual changes.
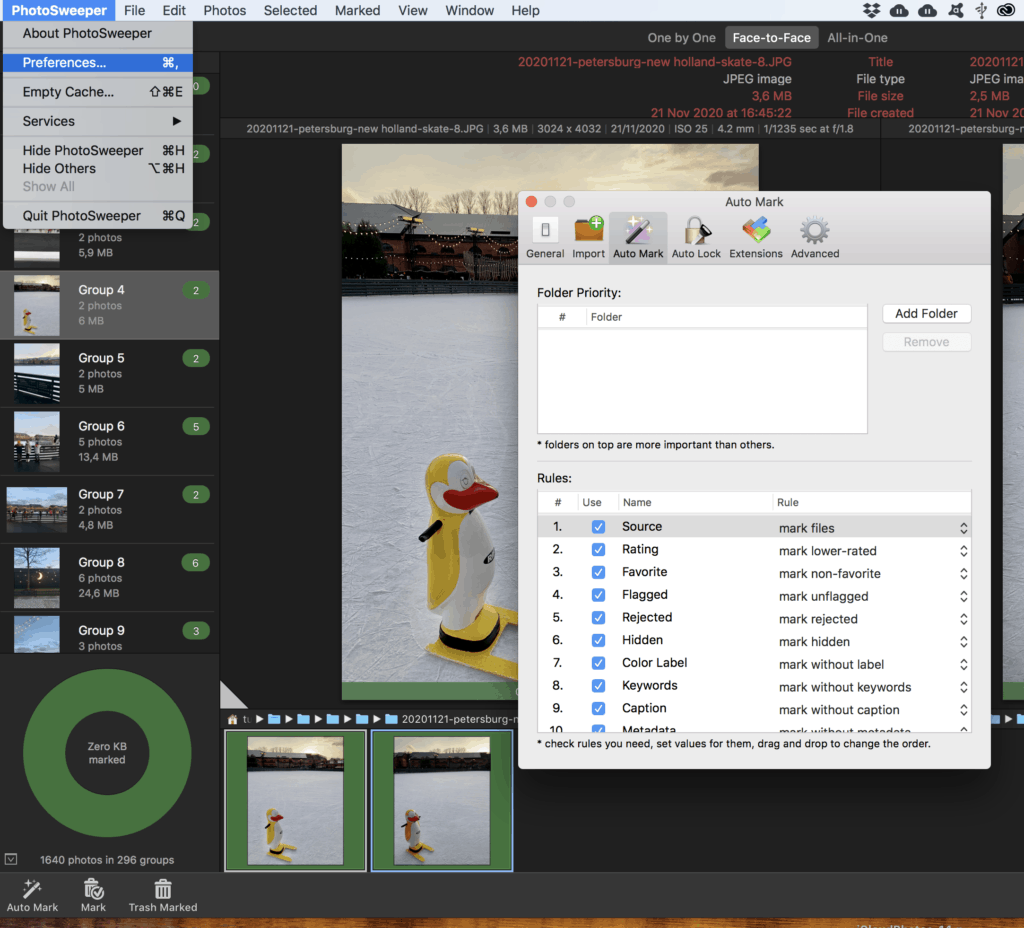
Go to PhotoSweeper preferences to make your Auto Mark settings. Here you can define the rules based on several criteria. You can also set folders that you want to have priority over others. The Auto Mark function will keep photos in those folders unmarked when comparing with others.
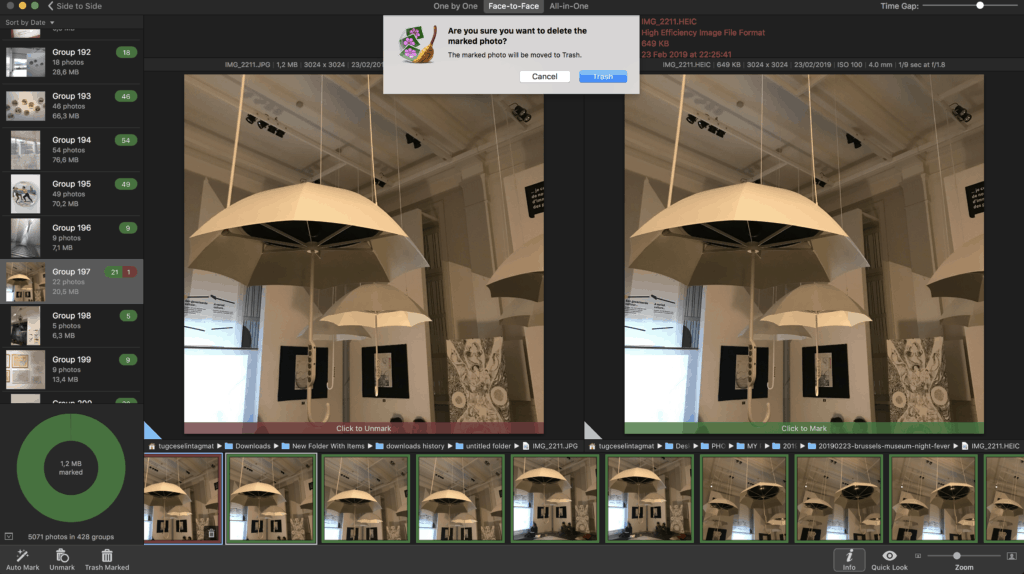
Once you’re done with marking, click on the Trash Marked tab at the bottom left. This way, PhotoSweeper will delete the marked photos and carry them to the trash bin. This means you can still restore the photos in case of a mistake. If you’re working on your folder system, you will find deleted photos in the trash bin of your computer. For your deduplication on Apple Photos and Adobe Lightroom galleries, the deleted photos will be saved in a dedicated trash folder inside these photo management software programs.
Want to go pro in your photo organizing skills?
Deduplication is one of the key photo organizing skills covered in our course DPO PRO: The Ultimate Photo Organizing Masterclass. Why don’t you join us to learn the life-long skills you need to manage your family photo archive and keep it safe? Click the link to learn more! And YES, we included a tutorial for PC users too on Duplicate Cleaner Pro!
What Say You, Readers? Do you love PhotoSweeper as much as we do?
Do you already another favorite? Let us know what you think and write us about your experiences in the comments section below!