iPhone prompting you to upgrade your iCloud storage, is it? Yeah, that happens. Especially since we click away and record more video than ever. You’re bound to run out of storage sooner or later, and usually it’s sooner. Before you hit that upgrade button though, read this post for ways to transfer your photos to your computer instead. Not only does it free up space, but it’s a more secure way to safeguard your memories…Import on a regular basis, and cut your organizational troubles in half from the get-go. 😉
iPhone Storage Full?
Nowadays we constantly use our phones to take daily photos and at some point, we all need to transfer these photos from our phones to computers. Transferring photos from your phone to a PC is a quite straightforward process with a simple wired connection and using the conventional folder structure. On the other hand, when it comes to transferring photos across Apple devices, there are plenty of options depending on how you want to manage your photo organizing process. That’s why we thought it would be helpful to give you an overview of a few different ways you can transfer photos from your iPhone to Mac computer. We mainly focus on those in this post, but at the end, you’ll also find some tips about some basic photo transfer solutions that work across different operating systems.
5 Ways to Transfer Photos from Your iPhone to Your Mac
Below are our top 5 ways to transfer your photos off your iPhone and safely onto your Mac computer. Pick the way that works best for you in terms of workflow, tech level, and overall lifestyle. In other words, if you don’t own a cord, don’t pick a wired connection. If you don’t love cloud storage, don’t use iCloud to sync. You get the idea. 🙂
#1 – The Apple Photos App
If you’re using the Mac Photos app to organize your photos, then a good option for you is to transfer your photos from your iPhone to Mac directly through this app. Just connect your phone to your computer with a wired connection and the Photos app should open automatically. Otherwise, just launch it manually. Then select your phone from the section on the left sidebar of the Photos app to view photos stored on your phone.

Here’s how your photos from your iPhone are displayed on your Mac’s Photos app.
All you need to do is to select the photos you want to transfer, decide where you want them to be imported (from the drop-down menu item Import to…) and click on Import. If you transfer your photos regularly from your phone to computer with this method, then each time you can just click on Import All New Items and make your life easy.
If you want your photos to be deleted from your phone once they’re transferred to your computer, simply check the box Delete items after import on the top right of the Photos app window. Otherwise, your photos will also stay on your phone after the transfer.

Go to Imports to view the photos you just transferred.

If you imported them to a specific album, then look for them there.
#2 – iCloud Sync
Another straightforward way to transfer photos from your iPhone to Mac is to use iCloud, which is Apple’s cloud storage solution. To be able to use this, you need to pay for the cloud storage and set up your iCloud to automatically upload and store photos from your phone. In this blog post, you can find a step-by-step guide on how to set up your iCloud.
Once you have set up your iCloud, it automatically keeps every photo and video from your phone’s camera roll in your iCloud storage account. This means you can access, browse, and import your photos from any of your devices. You can sync the photos, or to icloud.com on your Mac and sign in with your Apple ID. You can have many devices attached to your iCloud, but you only need one Apple ID to manage them.
Click on the Photos icon to access your photos stored on iCloud.

In iCloud, you’ll see your photo collection organized in a similar library structure as in the Apple Photos app: Photos, Moments, Favorites, Recently Deleted, and Albums.
iCloud gives you two options when you want to download your photos: Unmodified Originals and Most Compatible. When you select the Most Compatible version, you will have your photos transferred to JPEG. This option includes all edits you did on your photos after they were added to iCloud Photos. When you select Unmodified Originals, this will give you the original format of the photo as captured (usually HEIC), without any further edits.
You can find manually downloaded Photos (from iCloud) in the Downloads folder of your Mac.
#3 – Image Capture
There are times when you want to avoid the Photos App and the fees of cloud storage, and you simply want your photos imported into a folder structure on your Mac. Something more basic. Image Capture is a native app on your Mac which can help you in this exact scenario. Select and transfer a single photo, multiple photos, or your whole camera roll from your phone into a dedicated folder on your Mac. Super easy.
First set up a wired connection between your phone and Mac. Then launch the Image Capture app (do a spotlight search for it, if you don’t see it). Select your phone from the devices listed in the left sidebar to display the photos stored on it.
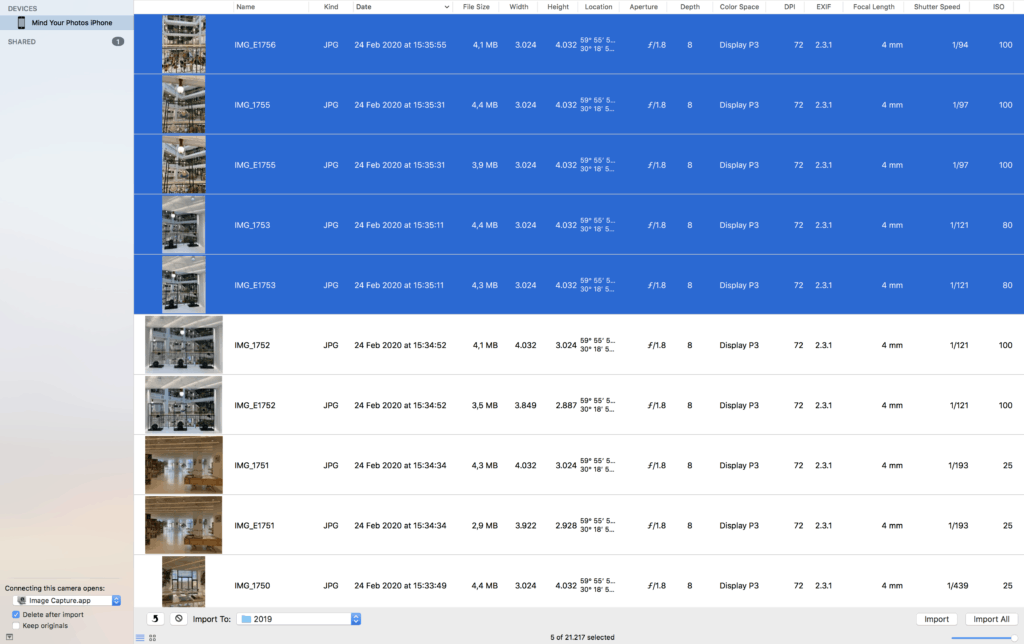
Image Capture displays thumbnails of photos for you to select and import easily.
Once the device is selected and the photos are displaying, you can select the photos that you want to transfer, and decide whether you want to delete them from your phone after import. You can indicate a specific folder to import them into as well. If you want to transfer all the photos from your phone to computer in one shot, then you just need to click on Import All.
Image Capture allows you to transfer your photos in their original file format (as created by your phone) while it also offers you the possibility to convert them to JPEG. This function allows you to play between different photo file formats during your transfer. Sometimes people prefer to use Image Capture specifically for its function to convert photos from HEIC to JPEG. If you want to keep the original file format, just check Keep Originals. If this box is left unchecked, then the formats will be converted automatically. You can find some other tips and tricks for Image Capture here.
#4 – AirDrop It
If you want to transfer your photos from your iPhone to your Mac without a wired connection, then AirDrop can be your solution. For this, your phone and computer need to be connected to the same wireless network. AirDrop is an especially handy method for transferring a limited number of photos (not ideal for your whole photo library).
All you need to do is to select one or multiple photos from your camera roll or the Photos app on your phone, tap the share icon at the bottom left, and click AirDrop. Then you will see devices connected to the same wireless network. Once you find and select it, your photos will be transferred right away. The files will show up in the downloads folder on your Mac.

Select the photos you want to transfer. You can scroll down to select more.
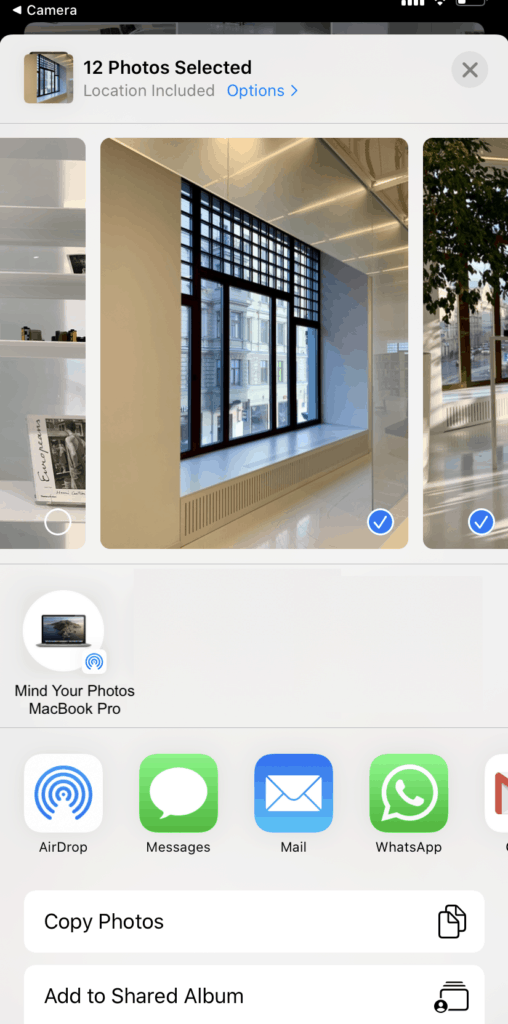
Find your device and tap on it to transfer your photos instantly.
You can also use AirDrop to share photos with your friends whose Apple devices are connected to the same wireless network. Great for a girls’ night out! Here you can find some more tips and tricks for AirDropping. Take full advantage!

I’m a Perfect Pinnable!
#5 – iMazing
When your photos are scattered among various devices or you want to transfer your photos to a different operating system, you need a more sophisticated solution. iMazing is a powerful and user-friendly app that you can use to transfer your photos manually between your iOS devices (iPhone, iPad and iPod touch) and your Mac or PC.
iMazing is a paid app, but you can first download its free trial version to see if it’s a good fit for you. The free trial has a transfer limitation of up to 50 photos, which is unlocked after purchase, but that may be enough for you.
The first step is to download iMazing for Mac or PC and install it on your computer. When you launch the iMazing app for the first time, you’ll need to connect your Apple device to the computer with a wired connection to pair it with the app. Once your device is paired, you’ll always see your device in the iMazing sidebar and you can use wireless connection after that. Note that a wired connection always works faster, so if you have a large collection on your phone, always go for the wired connection whenever possible.
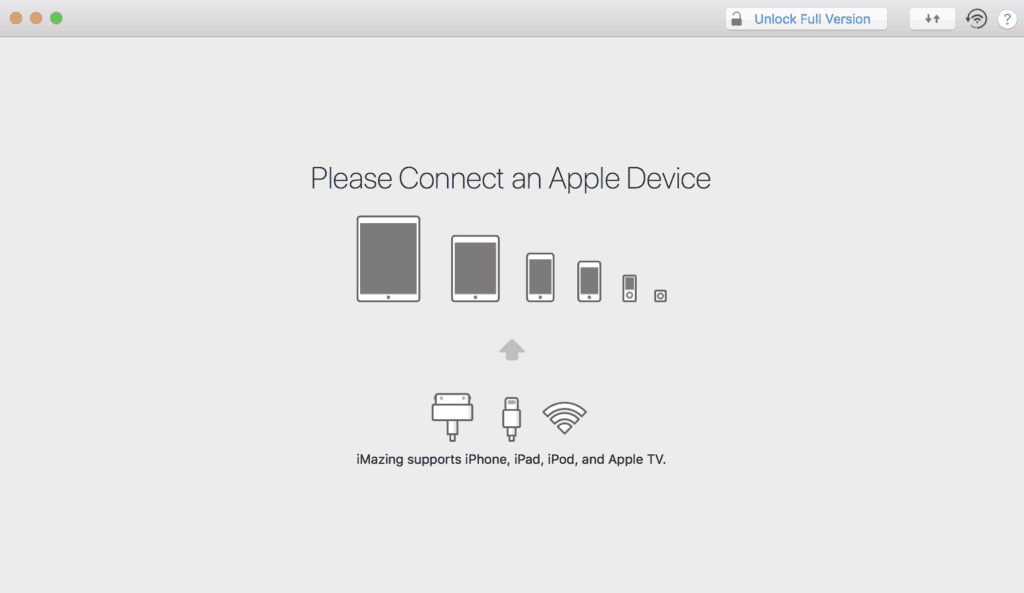
When you use iMazing for the first time, use a wired connection and iMazing will automatically recognize your device for pairing.
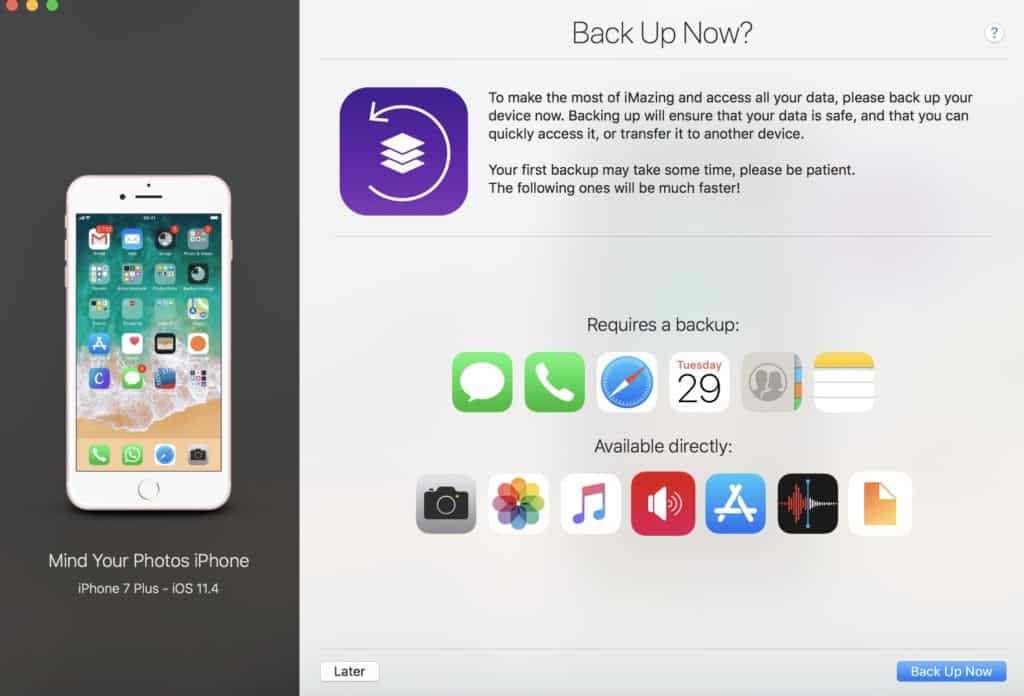
After pairing your device, you will see this window offering you the option to backup your device. To simply transfer your photos, click on “Later” and skip this step.
iMazing is actually more than a photo transfer app. You can use it to backup your phone and also transfer your music, messages, files, and other data from your phone to your computer, as well as from your computer to your phone, which is why we recommended it all the time.
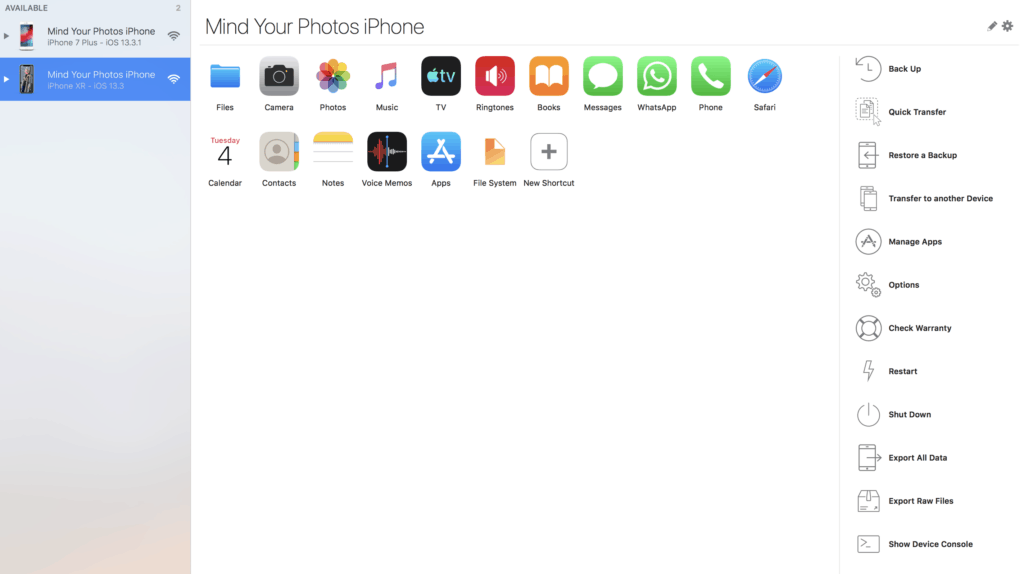
Once you pair your device (or multiple devices), the same window that will automatically open each time you launch iMazing.
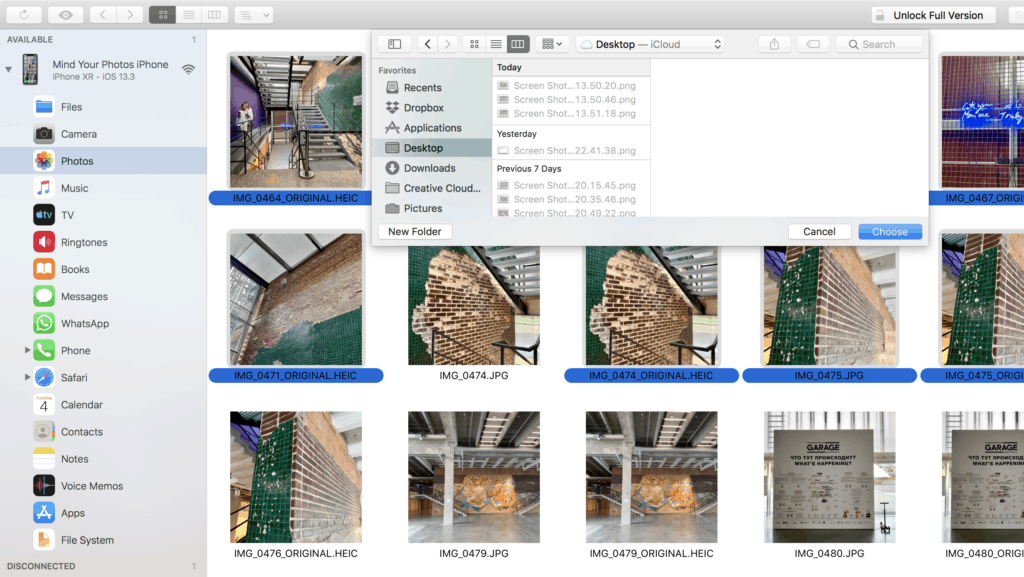
Select your phone from the left sidebar and then click on Camera or Photos to view the photos that are stored on your phone. From there, you can select and export those photos to your computer, or you can simply drag and drop them.
iMazing will transfer your photos with the same resolution and embedded metadata between your devices. It gives you the possibility to keep the original format of your photos, or convert HEIC files to JPEGs during the transfer process.
We have a detailed blog post on how to transfer photos by iMazing right here.
Back up more than just your photos with iMazing!
Cross-Platform Options
Finally, if you need a cross-platform photo transfer solutions, also check out:
- Android File Transfer to transfer photos from your Android device to Mac. You just need to install this very simple app in your Mac to browse and transfer files from your Android phone.
- PhotoSync to transfer, back up, and share your photos and videos between iPhone, iPad, Android devices, computers, and cloud services. A handy app when you need a lot of cross platform transfers.
What say you, readers? Which is your favorite way to transfer your photos?
Featured Photo Courtesy of Matthew Henry