Family group photos are priceless. They tell so much of your family’s collective story, and they show the relationships that oftentimes are missing from ‘regular’ photos. I love them because you get to see what everyone looked like together at a certain point in time. As you continue to build your own family legacy, make sure you include at least one great group photo in your collection every year. Your golden opportunity to capture this masterpiece will be during the holidays and at family reunions, but it’s easier said than done, right? In today’s post, my friend and fellow ExPat Morgan Province will tell you how to get the best possible shot. As a Photographer, she knows a thing or two about how to get everyone to smile at the same time. Let this blog post inspire you to take more creative family photos this holiday season!
“Picture Time!”
Let me throw a scenario your way.
You are in the middle of eating your grilled hamburger at a small picnic table with several cousins. There are jokes, stories, and desserts being passed around. Suddenly you hear a loud whistle and someone yelling, “Picture time!” In a hectic flurry, you and dozens of your relatives squeeze together for a family group photo. After a few shots, the family member taking the photo yells, “Got it!” And you go about your day.
A few days later, you get the photo in an email and you shake your head. Your eyes are closed, ketchup made a home on your face, heads are hidden, there is a distracting jungle gym in the background and somehow your sister missed the photo all together.
Does any of this feel familiar?
Family portraits are not easy. If you have ever had a portrait session with a photographer, you know that getting everyone to smile and look at the camera at the same time is like seeing lightning in a storm – exciting when you see it, but hard to capture clearly on camera. The larger the group, the tougher it is to get a good photograph. Whether you have three people or thirty, taking the steps I outline below will increase your chances of getting a great photo of your family.

I’m a Perfect Pinnable!
Time Your Group Photo Right
First, you need to set a time for your group photo. Be clear about when and where you plan to meet. We all have attendees who are chronically late, so give them an incentive to be on time such as individual family portraits or a group shirt. To avoid photos with messy faces and stained clothes, take the photo right before eating (another incentive for being timely and orderly at photo-taking time). Give the kids snacks if you need to get them happy and smiling, but plan on making the photo your first group activity.
Consider the Light
When setting a time for your group photo, keep the lighting in mind. Direct sunlight is harsh on faces, so try to place your group in either the shade, take the photo when the sun is behind the clouds, keep the sun behind the group to avoid long shadows, or shoot in the golden hour before the sun sets. Take a second to look at the background, the ground, and the sky. Be sure nothing appears to be sticking out of heads, covering people (like weeds or branches) or creating distractions (like a garbage bin). If your event is indoors, be sure you are under the light to avoid dark shadows, and set your camera’s white balance accordingly.
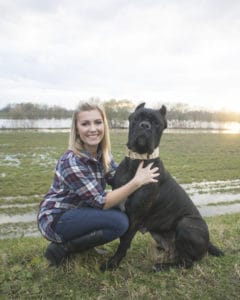
Photo © Morgan Province Photography. Used with Permission.
Get Yourself into the Shot
In order to get EVERYONE in, including you (yes, you!), set the camera on a tripod or flat surface, and turn on the self-timer. If you have a 10-second timer option, use it. That gives you enough time to run back and squeeze into the photo. A remote timer is even better. If you are like me, organizing anything can make you look flustered and agitated. A remote lets you settle in before the shutter clicks. Tell the group how long the timer is, and count down so everyone is paying attention at the same time. We want to keep those mouth-half-open-because-you-are-talking moments to a minimum.
Explore Posing Options
The bigger the group, the harder it is to get everyone looking natural. There’s the frequent go-to pose of tall people in the back, medium height in the middle, and cheerleader squat in front. Sometimes that’s the only option, but do think about your setting to see of other posing options are possible. If you have stairs at your venue, you’ve got a natural way to get everyone visible and bunched up in a smaller space. Another option is adding a row of chairs so you have one standing row, one sitting row, and kids sitting on the ground or in laps (if necessary). Finally, if your group has segments or multiple families in it, you can stand slightly apart. I call this “the staggered look.” This pose is popular in family portraits because it looks clean, gets everyone into the frame, and shows who goes with which family.

Example of a ‘staggered’ group photo. Photo © Morgan Province Photography. Used with Permission.
Set Up Your Camera Early
Get your camera ready before you call everyone over to take the group photo. Play with camera settings and prep the posing tools (place chairs, move distractions). Grab someone who loves getting his or her practice on him or her to get the settings right. If you are not familiar with cameras, put the camera on the automatic setting. More advanced? Adjust the f-stop, shutter speed, ISO and white balance on the camera. If you do plan to set your f-stop manually, use a stop like 5.6. During photo time, pose the group far from the background. Both of these actions keep the faces in focus and make the background out of focus. A depth of field like that makes your photo look a bit more professional.
Keep Clicking
Finally, as most photographers and artists know, you have to take dozens of shots to capture “the one.” Count down, take several shots in quick succession, make adjustments as needed, and just take more photos overall. Many cameras have timer and multiple shot functions you can use together – do that if you can. Why do you need many photos of what seems to be the same thing? Keep Reading.
Post Production
The benefit of having your camera on a tripod or flat surface is that your photos will all look very similar. Even though you took dozens of photographs, you may still get a face or two that has eyes closed, mouth hanging, or hand up. By keeping the camera stationary, you (or a portrait editor) can replace parts of the photo with other photos. For example, maybe Uncle Ed has only one good take, but it is not in the one where everyone else is looking fantastic. Photo editing applications, such as Photoshop, allow you to take just a section of a photo and place it on another, so you can put Uncle Ed’s good face on the photo that has everyone else’s good faces and presto change-o – one good group photo!
Title and Date It
Besides adjusting the lighting and color, a photo editing application can also put a title and date on your photo. Do not let the group photograph get lost; use a contrasting color to label the “who” and “when” of the group! For example, we took a photo of all the women in my college scholarship hall every year. We added our hall name and year at the bottom. In sixty years, I will still know what the photo captures.
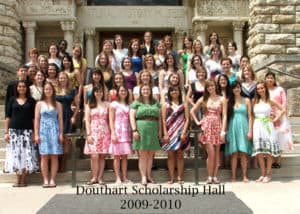
Example of a titled and dated group photo. Photo © Morgan Province Photography. Used with Permission.
Small Family Sessions
At a large family reunion or event, it is hard to coordinate things like clothes and location. However, if your small family schedules a portrait session with a professional photographer, you need to do a bit more planning. Here are a few things to consider before your appointment:
Coordinate Your Clothing
Do not choose clothes that completely match. Instead plan outfits that “go” together, like wearing neutral color palette with a pop or two of color, or having one pattern that ties all of the colors together. It’s fun to get inspiration from online color generators – try it! And don’t forget the accessories! Put pieces of your personality into your wardrobe – just not all in one place (you don’t want to make the photo too busy)!
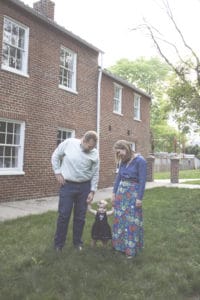
Photo © Morgan Province Photography. Used with Permission.
Scout Locations
Change up the location to vary your portraits. I don’t mean drive to four separate locations. I mean choose several backdrops in the same place and change up your poses. Scope out good locations beforehand, and don’t be surprised if your photographer gets a sudden burst of inspiration for a pose or location.
Get the Kids to Pay Attention
Bring snacks and drinks to keep the kids from getting “hangry.” If you have toddlers, consider bringing a toy to entertain them and to bring their attention up to the camera. If your schedule is a bit flexible, it may be beneficial to begin the session after the kids have napped! You know your kids the best, so do what works.
Remember ‘Must-Have’ Poses
The photographer doesn’t know your kids’ natural smiles, looks, and poses. Do and say things that bring out your children’s most natural selves without getting in the way of the photographer. It’s great if you search for family portraits ideas on Pinterest, but try not to take over your photographer’s role as director of the session. Be sure to show your photographer any poses you consider “must-haves,” so you don’t feel disappointed afterwards.
The #1 Tip for Taking Any Photos – Plan Ahead!
You may have picked up on this tip already, but the best thing you can do before taking a group photo is to plan ahead. There is nothing wrong with spontaneous photos in everyday life, but a group photo requires work before, during, and after the actual click of the camera. Whether you are the photographer or just a family member standing by, use the tips in this post to make the process smoother and the photo better. We know that even the best laid plans go awry, so imagine organizing a photo with no plan at all…
Capture that lightning, my friends!

A stellar example of a large group photo: The Rose, Kiger, and Stephens family reunion in Pennsylvania, 1930.
Caroline’s Notes: Thanks for sharing your tips with us, Morgan! I totally agree that you should take as many shots as possible when attempting to get a group photo right because there’s nothing more frustrating that having gone through all that work, and still not having “the one.” You can always delete the extras you don’t need later on, and as Morgan suggested, you can always introduce a little friendly photoshopping if you need to fix something (just don’t go overboard with it).
As a photo organizer, group photos are in indispensable tool for me in order to figure out identities and establish relationships, so I highly encourage you to take group photos in as many settings as you can, so that the photo organizers of the future will have their reference points too! Just don’t forget to the description of who’s who, and what the occasion was…
What do you think, readers? What are your best tips for taking a large group photo? Let us know in the comments below!
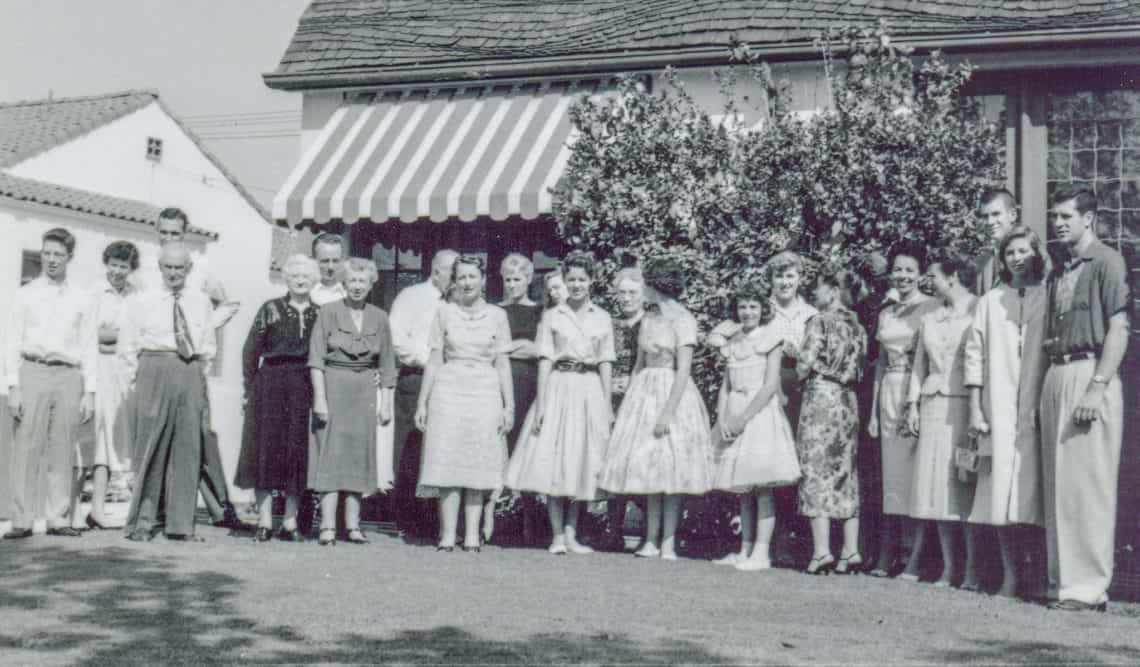
Featured image: Hitchcock Family Reunion at the home of Betty Hitchcock Kanouse on Dunsmuir Avenue, Los Angeles, California. Photo by Edgar L. Kanouse; April 11, 1959. Credit: Snap Man via Foter.com / CC BY-NC. No modifications except for cropping on pinnable.
End Photo: The Rose, Kiger, and Stephens family reunion in Pennsylvania. Photo by Professional Photographer J. A. J. Cole, Beaver, Pennsylvania; Dated 1930. Photo credit: Greene Connections via Foter.com / CC BY-NC-SA. No modifications.

