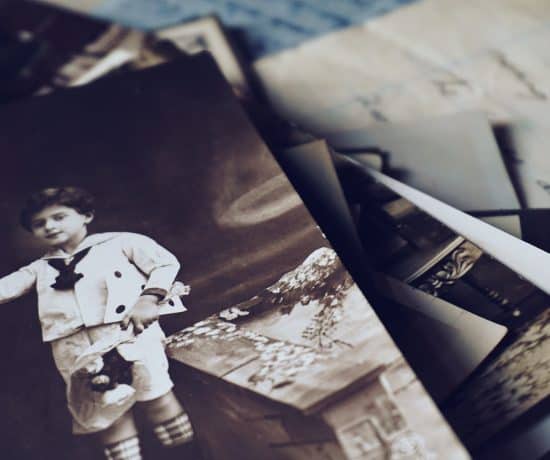
Old VHS tapes is something that most people have, and it’s one of the most urgent memories to digitize since acetate tapes shrinks and gets more and more fragile with age. Here with an overview of the DIY transfer process for old VHS tapes is guest blogger Carmen Docampo!
Take it away, Carmen!
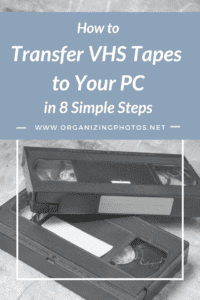
Transfer Old VHS Tapes Now!
Technology moves at a rapid pace and some of our most treasured memories are stuck on old tech that we just can’t access anymore. If you were born before the mid-1990s, the chances are that you likely have lots of home movies on VHS tapes you haven’t looked at in years. The good news is, those videos aren’t lost forever. You can digitize and store them on your computer quite easily, but you have to ask fast.
It’s quite important to get to it as soon as possible because VHS tapes can degrade over time. At worst, the quality of the footage will degrade by around 20% as each decade passes. At best, you’re looking at around 20% every 25 years. This is still a lot of degradation as time goes by, especially if you’ve got older videos that you want to preserve.
Yes, you can take your tapes to a pro service, but you can also do it at home without spending a fortune on sophisticated digitizing software and state-of-the-art equipment. Doing it yourself also gives you more options in terms of final file format and storage. That being said, make sure you are careful with the media as it get more fragile over time.
So, let’s look at what you need to digitize your VHS tapes at home – here are the 8 steps you need to know:
1. Get The Right Gear
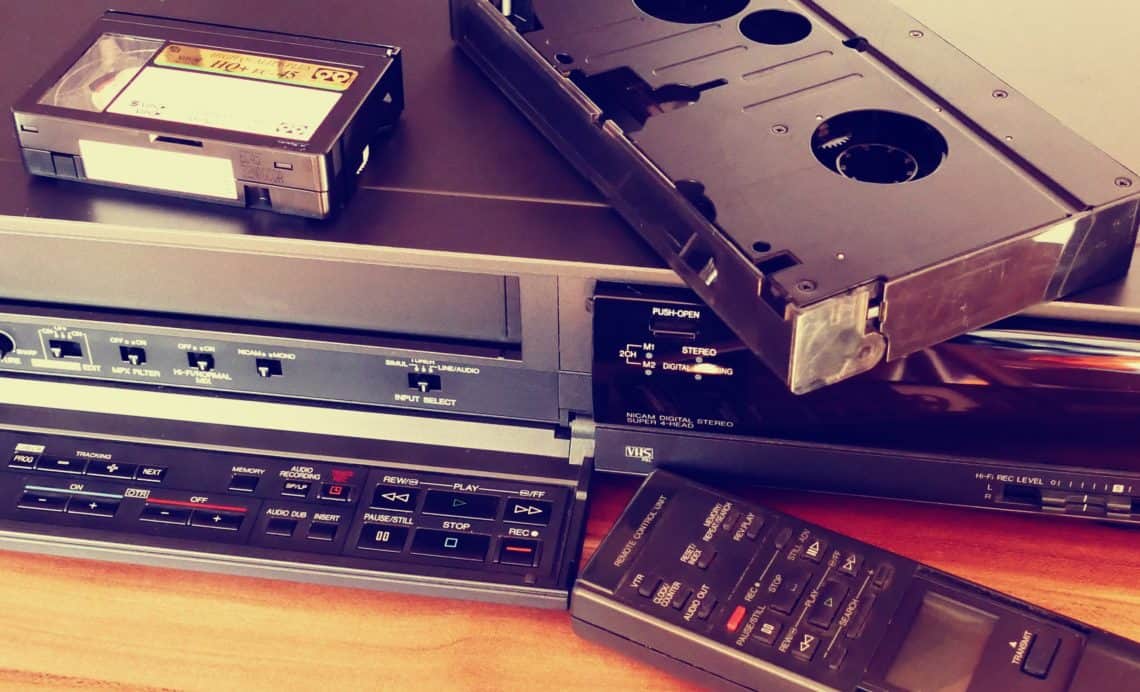
The first thing you need is a good VHS player. Tracking one of those down may actually be the hardest part of the entire process if you don’t have one laying about in the attic or garage. Check out eBay and consignment stores to see if they have any second-hand VCRs in stock. If you get your hands on one, test it with a commercial tape to make sure it works well.
Once you have your playback sorted, you’ll need an analog converter to connect the VCR to your computer. There are so many out there on the market now, so it’s a matter of doing some research, checking prices and reviews, and purchasing the one you want. The device you’re looking for is usually called a USB-to-composite video converter or an analog video converter. We recommend the El Gato brand one – it’s easy to use for beginners. It’s a good idea to get a device that comes with some kind of editing software, but you can always use the basic software on your computer if you want.
2. Download And Install The Software
On the subject of software, make sure you have the right version of the software for the device. These days, most devices will have software that you can download off the internet. This will ensure that you always have the latest version of the program and that you have the correct drivers. The capture and writing parts of the software are the most important elements that you’ll need. Added extras can include color correction, trimming and editing, stabilization, and transitions.
3. Plug Everything In
The next step is to get everything plugged in correctly. The computer side is easy because this is usually one USB plug that simply slots into one port on a laptop or desktop. On the VCR side, things can be a little more complex. Especially if you aren’t used to connecting a VCR and don’t remember all the different ports.
Most converter devices will have three plugs for the VCR. Those three are typically color coded, so just ensure that you have the correct color plug matching with the ports on the back of the VCR. It’s also important to ensure you’re using the output options on the VCR and not the input ports.If there’s an option to use an S-Video port, it’s better to use that. S-Video has a much more stable connection and allows for better video quality. The better the quality coming out of the VCR, the better the conversion will be.
4. Test The Capture Settings
Now you’re ready to start rolling! However, it’s always best to start with a test run to make sure that your settings are all correct. You don’t want to go through the process of capturing an entire video, only to find that something isn’t quite right. Remember, old VHS tapes can be out of sync or warped. If the VCR allows for it, look for a way to adjust the tracking of the tape. This will do a calibration and give you the best sync and the clearest picture possible.
5. Let The Video Roll
The digitization process happens in real-time. This means that you need to let the entire length of the video play as it captures. There’s no way to speed this up because the computer is simply capturing the output that’s coming from the VCR. If you hit fast forward on the VCR, the computer will capture that sped-up footage. The same goes for hitting pause, stop, and rewind.
Pro Tip: Hit record on your computer and then play on the VCR. This way, you won’t miss the very beginning of the tape as you capture it.
I’m a Perfect Pinnable!
6. Rewatch Your Captured Footage
It’s always best to watch some of the footage to ensure that there are no glitches or faults that could be fixed. Old VHS tapes can get finicky, and the VCR might be dusty or stick in places. You can either watch the playback as you’re capturing it to ensure it works, or take time afterwards to watch it through.
We normally tell people to hit play and walk away until the transfer is done. If everything is tested and in working order, you will come back to finished capture and you can then rewatch it plus fast forward. The El Gato software lets you specify the number of minutes you’d like it to run for, so it you have a 2-hour tape, you can set it to shut off automatically after 120 minutes (always let it run a little bit past though, so you grab all the footage.
7. Set Up Your Storage
Depending on the converter’s software, you’ll be able to store your newly digitized videos as .MP4s, .MOVs or even .MPGs. The size of these files will depend on how much video you captured. A two-hour-long tape will be a large file once digitized.
Think about how you’re going to store these files. The idea is to keep them safe, so you should look into having cloud backups and copies on external hard drives. Keeping them on your computer is not always an option due to the larger file size taking up a lot of space.
8. Edit Your Movies
Finally, before you export them and load them into your backup storage, take a moment to edit the footage. You don’t need to do anything fancy, but at least trim the beginning and the end so that you get rid of any static or that initial pause as you set up the capturing. This bit of neatening up is a lot like combining PDF files or saving images in folders—it’s a little extra step that makes all the difference. Presentation matters, and if you can edit your footage down to key moments, that helps a lot!
Get Those VHS Tapes Digitized!
Whether you want to use old videos to create a slideshow for a special occasion or preserve your memories for posterity, transferring VHS tapes to your computer is simple, so give it a try! And just remember, the sooner you do so, the better the quality will be because your tapes won’t have a chance to degrade. Make it a priority!
Featured Photo Courtesy of Anthony / Inspired Photos