In this post, we’re taking a look at easy-to-use viewers for your old slides and negatives! We hope this will help you get inspired to dust off those old boxes and take a look at what’s inside! It’s the first step towards scanning, so read on, click on, and get ready to walk down memory lane! If you want more content like this, we already have an article here about storing your negatives properly, and one here about storing your printed photos safely. You can view our article on viewing film and tapes here, and more is definitely on the way!
Got Slides? Negatives?
If you’re anything like most people, you probably have some old boxes of memories sitting somewhere in a closet or basement. Chances are that you haven’t seem them in years, so how can you make a good decision on what to scan when the time inevitably comes? Well, you have two choices: A) You can scan everything, or B) You can try sorting through what you have and only scan the best selection. Perhaps you’ve been faced with a similar decision if you’ve ever hired a photo organizer or sent your memories away to a company. What to include?
As organizers, we usually recommend option B because it saves both time and money, but it can be quite daunting for busy clients to look through box after box. After all, they usually hire me because they don’t have that time. I’m happy to provide that service, of course, but it doesn’t necessarily cut the cost much. And if you’re DIY-ing your project, you need to know what you’re dealing with. You need to know what to scan and what not to scan. In the spirit of helping you through this decision, we thought give you some recommendations on how to view your old slides and negatives without having to scan anything. We’re confident this’ll make it easier for you to decide on what to digitize. Read on, memory maker, here’s how it’s done:
I’m a Perfect Pinnable!
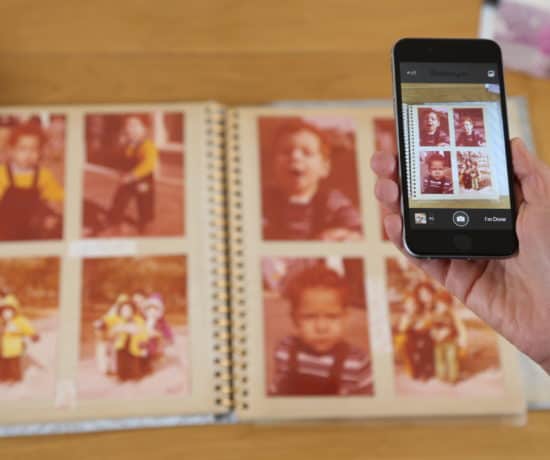
Method #1 – Download a Smartphone App
Smartphones are great for many things, but perhaps you hadn’t considered using it as a light box? Well, you can, and it’s pretty quick and easy. There are a number of great apps on the market that lets you use your phone to see your old slides and negatives. For negatives, they usually invert the colors, but not all of the apps have that feature, so you’ll have to go a little research on which one fits your needs the best.
Here’s a two for you to try:
- LightBox Free
- FilmLab – Currently in Development
If you can’t find an app you like, check your smartphone’s or tablet’s settings to see if you’re able to invert the colors on your camera, so that you can see the images. Our friends over PicScanner Gold has a great tutorial on how to do this!
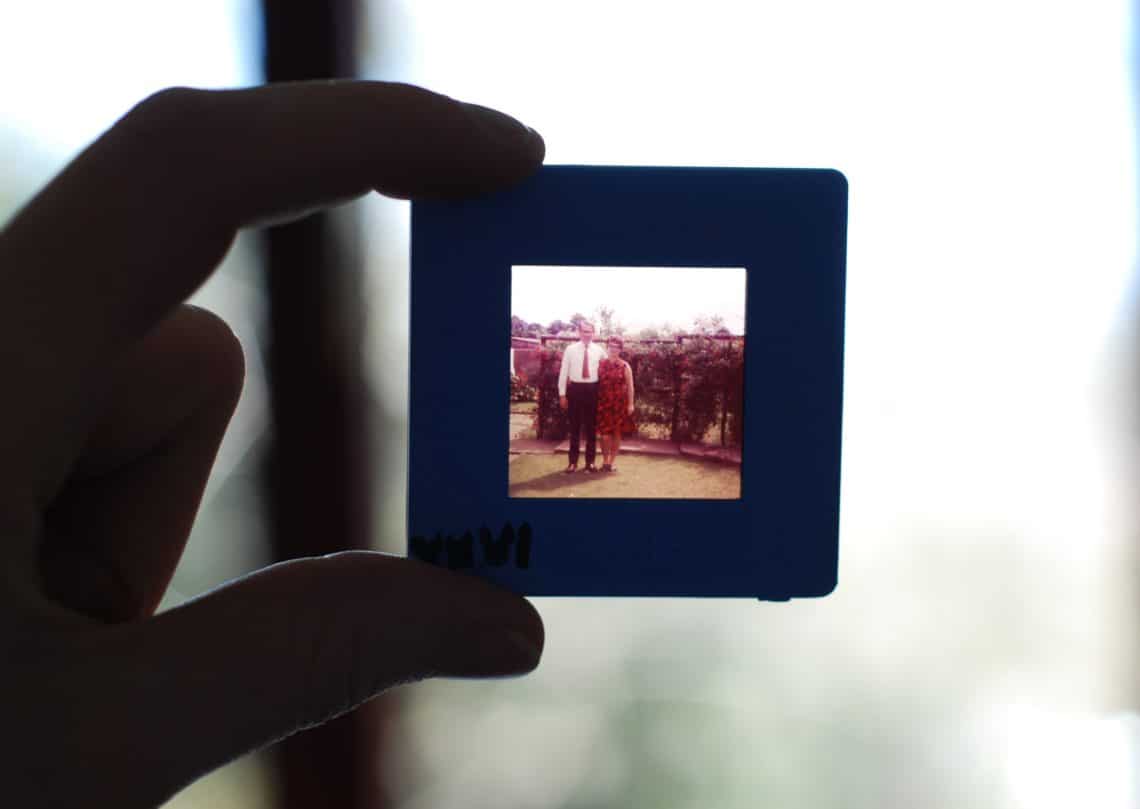
Method #2 – Use a Loupe
A loupe, a.k.a. a small magnifying previewer (a hand lens) is a great and inexpensive way to preview what’s on your slides. They usually range about $5-10 a piece, and they’re functional to have around the house because you can use them for other things as well, like inspecting that diamond ring your husband gave you (Just kidding! …Or am I? ;-). Slides are already fairly easy to check compared to negatives, so you just need to hold them up to the light an magnify them a bit. Simple enough with this handy-dandy little tool. And it’s a small investment that can save you hundreds in scanning fees.
You can also get a loupe that’s made specifically for slides and negatives. Just google “single slide viewers” and they’ll pop up. They usually cost a few more dollars than a basic model, but they often include a slot to hold the slides in place as well as an on/off button for an illuminated background. A little fancier, but technically the same thing.
You can buy loupes from many online retailers, including Amazon, B&H, and Adorama. I like the Carson brand of Lumiloupes, but they’re all very similar in quality and price.
Method #3 – Invest in a Lightbox
If you have thousands of slides, you may be better off getting an actual light box, so that you can look through your slides in batches instead of one-by-one. Here at The Swedish Organizer, LLC, we have a couple of E-Z View Slide Sorters that we use for client projects. They’re super handy, work great, and they’re collapsible for easy storage when not in use. Not only do these light boxes allow us to view slides before we scan then, but it also helps us sort and organize those slides into groups. This is great when we have big orders because scanning an organized project doesn’t double the mess the same way scanning a disorganized project would. The fact that you can arrange slides into some sort of order in invaluable.
Light boxes usually range between $30 – $80 dollars depending on size and features, but expect to spend around $50 for a one of decent quality. Light panels for the pros are also available, but it’s something you’ll have to put on your Christmas wish list if you don’t want to plunk down a couple of hundred (or thousand) dollars yourself. Probably overkill, unless you’re as giddy about this stuff as me.
Organize, Scan, Preserve
If you take away anything from this little blog post, make it this: organize first, scan second, then preserve the best. A big factor in deciding to do it yourself versus hiring a pro is the cost, but no matter which way you go, you can still save money by being selective. We don’t need to scan everything. Curation is essential to any collection, and making that process more affordable means that more memories will get preserved in the long run. And that’s kinda what we’re all about here!
What say you, dear readers? Did you use an app, a loupe, or a light box before scanning your memories? Let us know in the comments!
Featured Photo Courtesy of Gemma Evans